The Best Fluffy Pancakes recipe you will fall in love with. Full of tips and tricks to help you make the best pancakes.
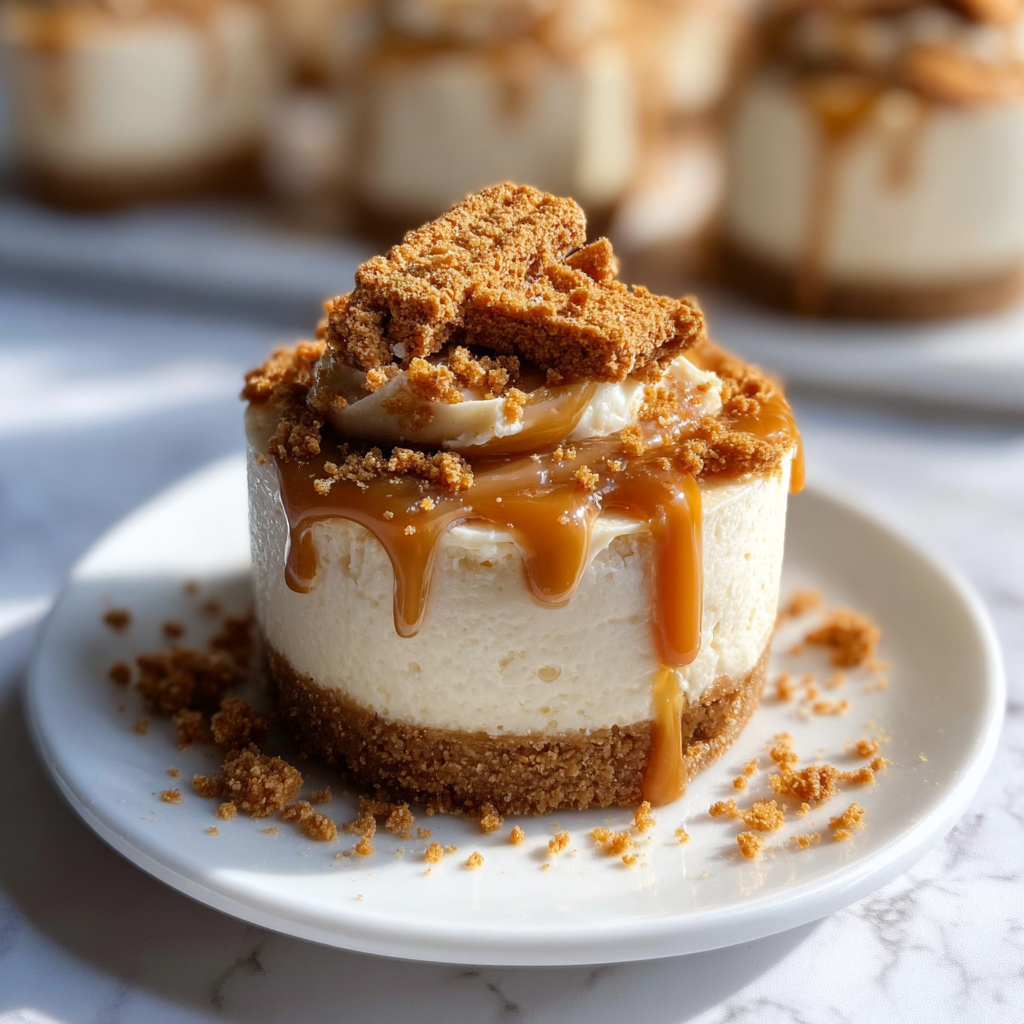
No bake mini Biscoff cheesecakes are the ultimate dessert for anyone who loves rich, creamy textures and the unmistakable caramelized spice flavor of Lotus Biscoff. These individual-sized treats combine a buttery Biscoff cookie crust, a silky no-bake cheesecake filling, and a luxurious Biscoff topping — all without ever turning on the oven.
Perfect for parties, holidays, or make-ahead entertaining, these cheesecakes are elegant yet incredibly easy. Each bite delivers layers of flavor and texture: crunchy cookie base, light yet decadent cream cheese filling, and smooth cookie butter on top. They look impressive, but they’re surprisingly simple to make.
If you’re searching for a dessert that feels indulgent, modern, and crowd-pleasing, these mini no bake Biscoff cheesecakes are guaranteed to disappear fast.
Why You’ll Love These Mini Biscoff Cheesecakes
There’s a reason Biscoff desserts have exploded in popularity. The warm, caramelized flavor pairs beautifully with creamy cheesecake — and going no bake makes the process nearly foolproof.
Here’s what makes this recipe a standout:
- No oven required
- Individual portions for easy serving
- Perfect make-ahead dessert
- Smooth, creamy texture every time
- Intensely Biscoff-forward flavor
They’re ideal for holidays, birthdays, dinner parties, or anytime you want a stress-free dessert that looks bakery-worthy.
What Is Biscoff?
Biscoff, also known as Lotus Biscoff, is a spiced caramelized biscuit originating in Belgium. When ground and blended into a spread, it becomes cookie butter — smooth, rich, and deeply flavorful with notes of brown sugar, cinnamon, and toasted spice.
In cheesecake form, Biscoff provides sweetness and warmth without overpowering the creaminess of the filling. It’s the perfect flavor base for no bake desserts.
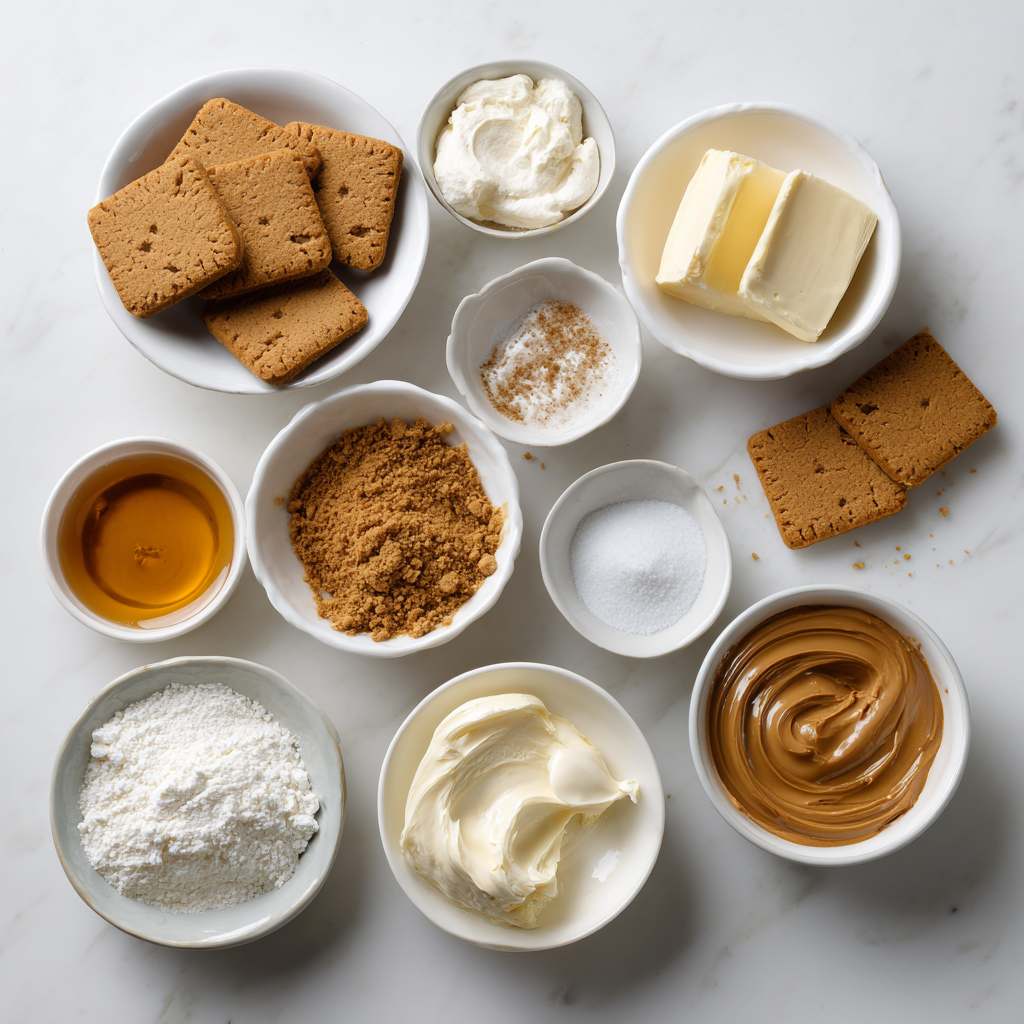
Ingredients
Simple ingredients come together to create a show-stopping dessert.
- Biscoff cookies – finely crushed
- Unsalted butter – melted
- Cream cheese – softened
- Powdered sugar
- Vanilla extract
- Heavy whipping cream – cold
- Biscoff spread – smooth
- Extra crushed Biscoff cookies – optional garnish
Instructions
- Crush Biscoff cookies into fine crumbs using a food processor or rolling pin.
- Mix cookie crumbs with melted butter until evenly coated.
- Press mixture firmly into the bottoms of a lined muffin tin or mini cheesecake molds. Chill.
- Beat softened cream cheese until smooth and fluffy.
- Add powdered sugar and vanilla extract; mix until fully combined.
- Whip heavy cream to stiff peaks in a separate bowl.
- Gently fold whipped cream into the cream cheese mixture until light and smooth.
- Spoon or pipe cheesecake filling over the chilled crusts.
- Smooth the tops and refrigerate for at least 4 hours or overnight.
- Warm Biscoff spread slightly and spoon over each cheesecake.
- Garnish with crushed cookies if desired before serving.
The Secret to a Perfect No Bake Cheesecake Texture
The key to no bake cheesecake success is balance. Cream cheese provides structure, while whipped cream adds lightness. Folding gently prevents deflation and keeps the filling airy instead of dense.
Chilling time is non-negotiable — it allows the cheesecake to fully set and slice cleanly.
Mini Cheesecakes vs Full Cheesecake
Mini cheesecakes have several advantages:
- Faster chilling time
- Built-in portion control
- Easier serving for events
- Less risk of collapsing
They’re also more visually appealing on dessert tables and perfect for grab-and-go entertaining.
Tips for Success
- Use full-fat cream cheese for best texture
- Make sure cream cheese is fully softened
- Chill bowls before whipping cream
- Don’t overmix after folding
- Let Biscoff spread cool slightly before topping
Flavor Variations
Customize these cheesecakes easily:
- Add a layer of chocolate ganache
- Swirl Biscoff into the cheesecake filling
- Use Oreo crust for contrast
- Add espresso powder for depth
- Top with whipped cream rosettes
Serving Suggestions
Serve these mini Biscoff cheesecakes:
- Straight from the fridge for clean slices
- With coffee or espresso
- As part of a dessert platter
- Garnished with fresh berries
They’re rich, so small portions go a long way.
Make-Ahead & Storage
- Refrigerate up to 4 days
- Freeze (without topping) up to 1 month
- Thaw overnight in refrigerator
- Add topping just before serving
Nutritional Overview
These cheesecakes are indulgent, but intentionally so. The richness allows for smaller servings while still satisfying sweet cravings.
Why This Recipe Works
This no bake mini Biscoff cheesecake recipe works because every element is purposeful. The crust provides crunch, the filling stays light, and the topping delivers bold flavor. There’s no baking guesswork, no cracking, and no water baths — just consistent, reliable results.
Final Thoughts
No bake mini Biscoff cheesecakes are proof that impressive desserts don’t need to be complicated. With simple ingredients and smart technique, you get a dessert that’s rich, creamy, and unforgettable.
Once you make these, they’ll become a go-to for every occasion.
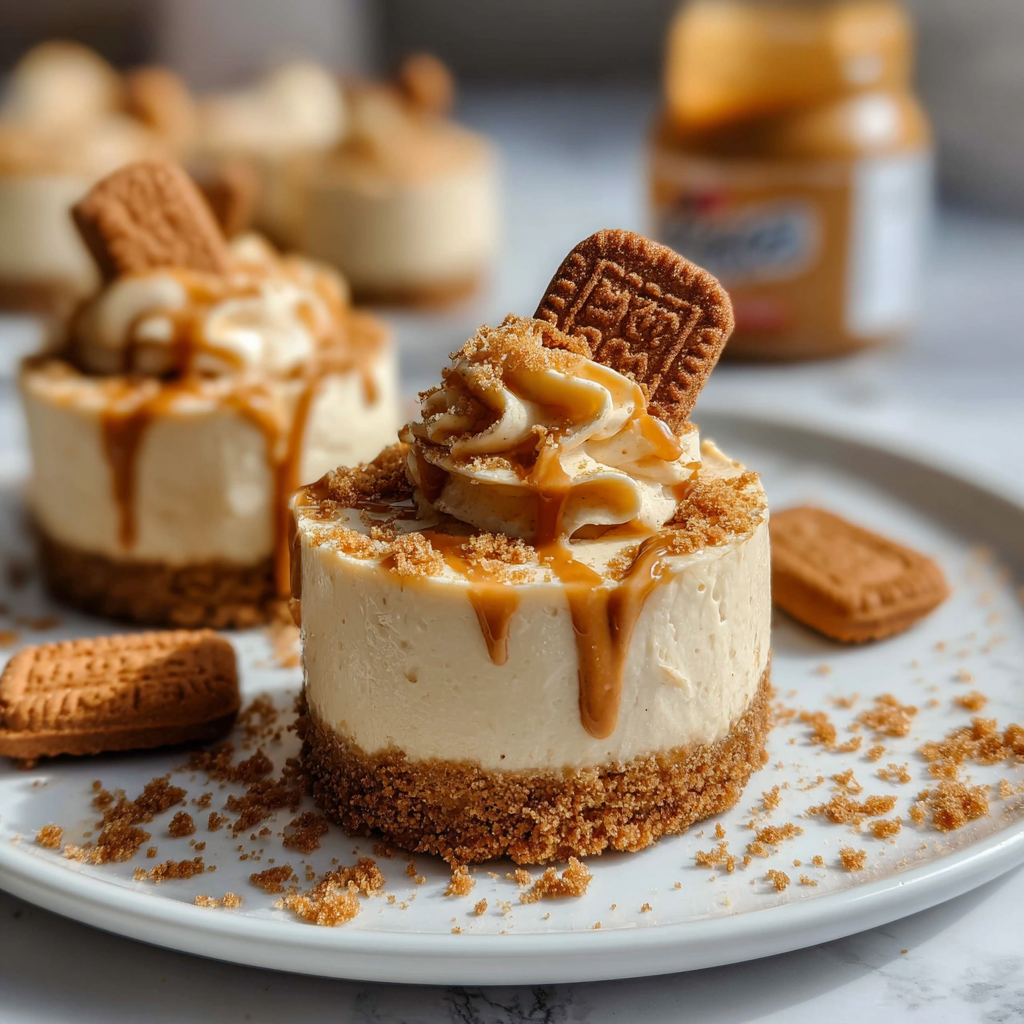
No Bake Mini Biscoff Cheesecakes
Individual no bake cheesecakes with a Biscoff cookie crust, creamy filling, and smooth Biscoff topping.
Ingredients
Equipment
Method
- Mix crushed cookies with melted butter and press into molds.
- Beat cream cheese, sugar, and vanilla until smooth.
- Whip cream to stiff peaks and fold into cheesecake mixture.
- Fill crusts and chill at least 4 hours.
- Top with melted Biscoff before serving.
Notes
Chill overnight for best results.


