
The Best Fluffy Pancakes recipe you will fall in love with. Full of tips and tricks to help you make the best pancakes.

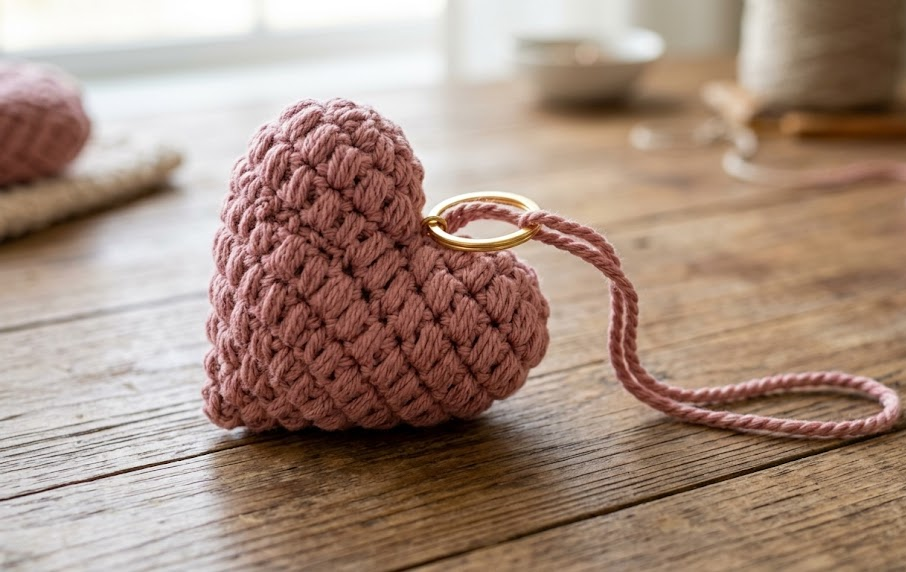
If you’ve been looking for a quick, satisfying project that uses up scraps of worsted weight yarn and turns into something genuinely useful, this crochet heart keychain is exactly what you need. It’s small enough to finish in under an hour, textured enough to look impressive, and simple enough that a beginner crocheter can complete it with just one special stitch: the puff stitch.
This little heart is made from two puffy panels joined together and stuffed just enough to hold its shape, then finished with a twisted cord that attaches to a gold keyring. The bumpy, dimensional texture created by the puff stitches gives it a plush, tactile quality that flat single crochet hearts simply don’t have. It makes a lovely bag charm, keychain, gift topper, or even a small ornament.
This pattern is perfect for crocheters who already know the basics of chain stitch and single crochet and want to learn one new textured stitch. It also makes a fantastic stash-buster since it only needs a small amount of yarn. Whether you’re making one for yourself, a friend, or a small batch as handmade gifts, this pattern will walk you through every single step so you can complete it using nothing but the instructions below.
|
Difficulty
Beginner
|
Time
45–60 Min
|
Hook Size
4.5mm (G/7)
|
Yarn Weight
Worsted (#4)
|
Finished Size
6cm x 6cm
|
Gauge
14 puff stitches x 8 rows = 10cm x 10cm square, worked in Puff Stitch pattern using a 4.5mm hook and worsted weight (Medium #4) yarn.
Gauge is not critical for this project since it’s a small, stuffed accessory rather than a garment, but matching gauge will help you achieve the finished size listed below (approximately 6cm x 6cm). If your heart comes out noticeably larger or smaller, try adjusting your hook size up or down by 0.5mm.
Materials List
- Worsted weight yarn (Medium #4), approximately 15–20 grams, in dusty rose pink (main color)
- 4.5mm (US G/7) crochet hook
- Yarn needle for weaving in ends and sewing panels together
- Polyester fiberfill stuffing (a small handful)
- 1 gold keyring, 25mm diameter
- Stitch marker (optional, for tracking rows)
- Scissors
Abbreviations Table
| Abbreviation | Meaning |
|---|---|
| ch | chain |
| st(s) | stitch(es) |
| sc | single crochet |
| sl st | slip stitch |
| Puff st | Puff Stitch (special stitch, explained below) |
| Puff2tog | Puff Stitch 2 together (decrease, explained below) |
| rep | repeat |
| RS | right side |
| ( ) | stitch count at end of row |
Special Stitch Notes
Puff Stitch (Puff st): Yarn over, insert hook into the stitch, yarn over and pull up a loop (3 loops on hook). Repeat this two more times into the same stitch (7 loops on hook total). Yarn over and pull through all 7 loops on the hook, then chain 1 to close and secure the puff. This creates one raised, bobble-like stitch.
Puff2tog (decrease): Begin a puff stitch in one stitch but stop after pulling up the third loop (before the final yarn over and pull through). Move to the next stitch and repeat the same partial puff stitch process (you will now have 13 loops on the hook). Yarn over and pull through all loops, then chain 1 to close. This joins two stitches into one, reducing your stitch count by one.
Pattern Instructions
Lobe 1 (make 1)
Row 1 (RS): Ch 2, work 2 Puff sts in 2nd ch from hook. Turn. (2 puff sts)
Row 2: Ch 2 (this chain does not count as a stitch), work 2 Puff sts in first st, 1 Puff st in last st. Turn. (3 puff sts)
Row 3: Ch 2, Puff st in each st across. Turn. (3 puff sts)
Fasten off, leaving a 20cm tail for joining.
Lobe 2 (make 1)
Repeat Rows 1–3 exactly as written for Lobe 1. Do NOT fasten off — you will continue directly into the Joining Row using this working loop.
Joining Row and Heart Body
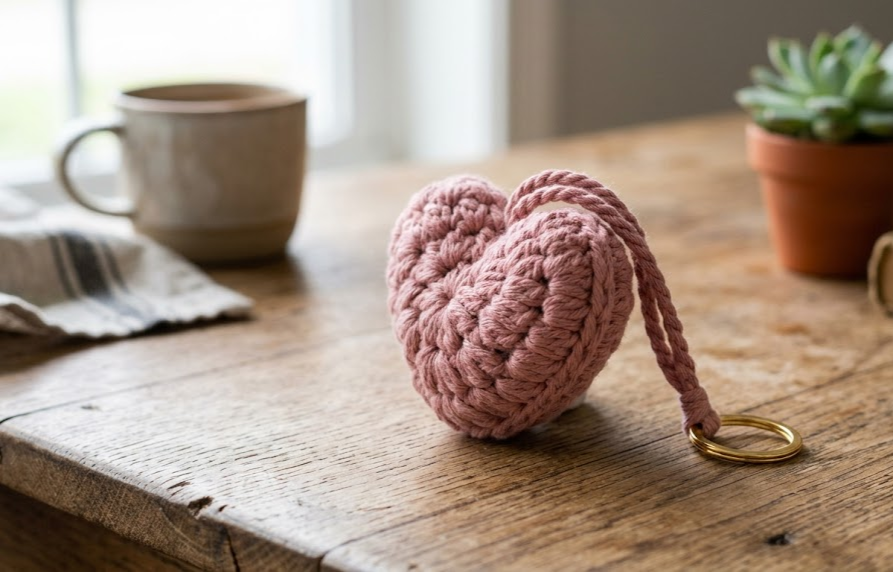
Row 4 (Joining Row): With the working loop of Lobe 2 still on your hook, ch 2, then work 1 Puff st in each of the 3 sts of Lobe 2. Without cutting yarn, place Lobe 1 directly beside Lobe 2 with right sides facing the same direction, then continue working 1 Puff st into each of the 3 sts of Lobe 1. Turn. (6 puff sts total, spanning both lobes)
This joining row is what creates the classic heart-shaped dip between the two lobes at the top of the heart.
Row 5: Ch 2, Puff st in each st across. Turn. (6 puff sts)
Row 6: Ch 2, Puff2tog over first 2 sts, Puff st in each of next 2 sts, Puff2tog over last 2 sts. Turn. (4 puff sts)
Row 7: Ch 2, Puff st in each st across. Turn. (4 puff sts)
Row 8: Ch 2, Puff2tog twice across row. Turn. (2 puff sts)
Row 9: Puff2tog once. Fasten off, leaving a 30cm tail for sewing.
Repeat the entire pattern (Lobe 1, Lobe 2, Joining Row through Row 9) a second time to make two identical heart panels — one for the front and one for the back.
Cord Loop
Cut 2 strands of yarn, each 40cm long. Hold them together and twist tightly until the strand begins to kink back on itself. Fold the twisted strand in half and let it twist onto itself naturally to form a twisted cord approximately 10cm long. Knot both cut ends together to secure. Thread your keyring onto the folded loop end before attaching it in assembly.
Assembly Steps
- Lay the two heart panels together with right sides facing outward (wrong sides touching).
- Using a yarn needle and the long tail from Row 9, whipstitch the two panels together starting from the bottom point, working up one side toward one of the top lobes.
- When you reach the top of the first lobe, insert the knotted end of your twisted cord loop (with the keyring already threaded onto the folded end) between the two panels, positioned at the center dip between the two lobes. Stitch over the knot 2–3 times to secure it firmly in place.
- Continue whipstitching around the second lobe and back down the opposite side, stopping when there is a 3cm gap remaining.
- Stuff the heart firmly but not overly tight through the gap, using small pinches of fiberfill and pushing it into both lobes and the bottom point with the end of your hook or a chopstick.
- Whipstitch the remaining 3cm gap closed.
- Weave in all remaining ends through the inside of the stuffed heart using your yarn needle, then trim close to the surface.
Your finished heart should measure approximately 6cm x 6cm, with the cord and keyring adding another 8–10cm to the total hanging length.
Beginner Tips
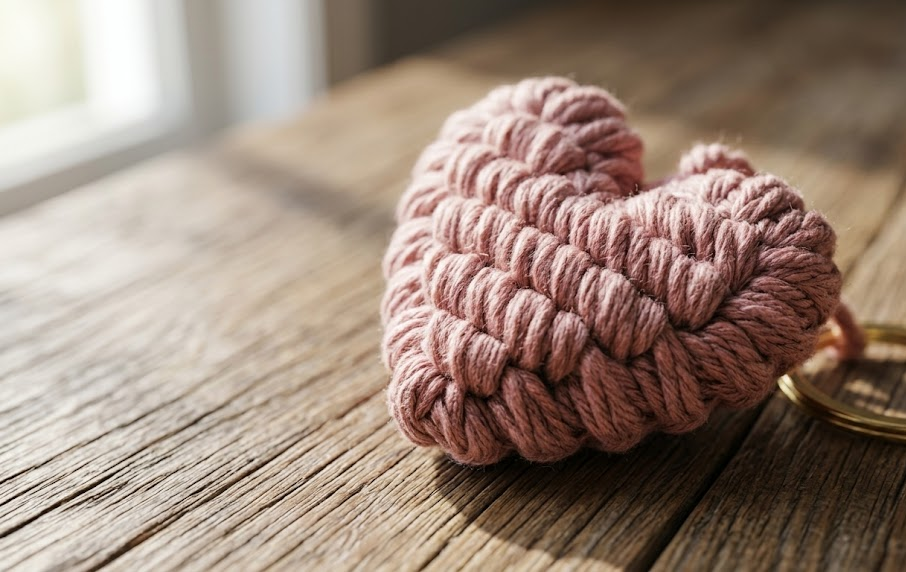
- Keep your puff stitches consistent by pulling each of the 3 loops up to the same height before completing the stitch — uneven loop heights will make your rows look lumpy in a bad way rather than a nice, even bobble texture.
- When working the Joining Row, hold the two lobes firmly together with your fingers as you work into Lobe 1’s stitches so they don’t shift apart and leave a gap at the dip.
- Stuff a little at a time and check the shape from the front as you go — it’s much easier to add small pinches than to remove stuffing after the gap is closed.
- If your twisted cord keeps untwisting, hold both ends under tension the entire time you’re folding it in half; letting go too early will cause it to unravel.
Variations
- Ombre Heart: Use two shades of the same color family, one for each lobe, for a subtle gradient effect.
- Mini Heart Garland: Make five or six hearts without the keyring loop and string them onto a length of cord for a decorative hanging garland.
- Two-Tone Heart: Make the front panel in one color and the back panel in a contrasting color for a reversible-look keychain.
- Bag Charm Upgrade: Add a small tassel or a wooden bead to the cord loop above the keyring for extra movement and detail.
Save this pattern to your Pinterest board so you always have it on hand for your next quick crochet project! #FoodieRippleCrochet



