
The Best Fluffy Pancakes recipe you will fall in love with. Full of tips and tricks to help you make the best pancakes.

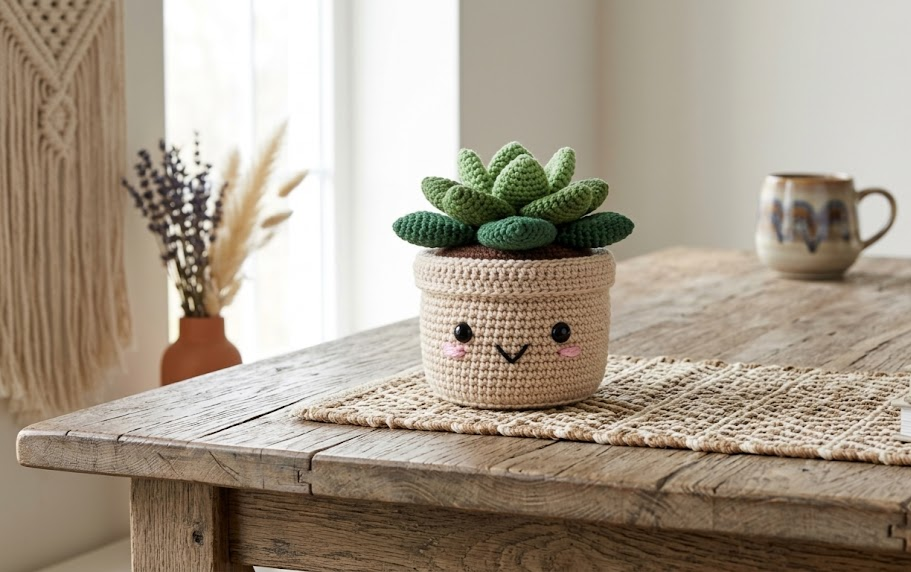
If you love the idea of a little houseplant that never needs watering, never wilts, and always greets you with a smile, this Happy Succulent in a Pot pattern is exactly what your crochet queue is missing. This project turns a handful of basic stitches into a charming tiered succulent nestled in a soft beige pot, complete with a sweet embroidered face that makes it feel like a tiny character rather than just a plant.
This pattern is perfect for beginner-to-intermediate crocheters who want a quick, satisfying project. It works up in a single evening or two, uses small amounts of yarn, and doesn’t require any fussy shaping. It’s an ideal gift for plant lovers, a desk companion for someone who kills every real plant they own, or a fun addition to a handmade market stall. Because it’s amigurumi, it’s worked in continuous rounds without joining, which keeps the surface smooth and seamless.
By the end of this tutorial, you’ll have a finished piece that stands about 12 cm (4.7 in) tall from the bottom of the pot to the top of the leaves — small enough for a windowsill, shelf, or desk, but substantial enough to feel like a real decor piece.
|
Difficulty
Easy
|
Time
2-3 hours
|
Hook Size
2.5mm
|
Yarn Weight
Worsted (US 4)
|
Finished Size
~12cm / 4.7in
|
Gauge
- 18 stitches x 20 rows = 10cm x 10cm square in single crochet, worked in continuous rounds
- Hook used: 2.5mm crochet hook
- Yarn used: worsted weight (US 4) yarn
Gauge isn’t critical for this project since it’s stuffed and shaped by hand, but working to a similar tension keeps stitches tight enough that stuffing doesn’t show through.
Materials List
- Worsted weight yarn (US 4) in beige — for the pot, small amount (~15g)
- Worsted weight yarn (US 4) in brown — for the soil, small amount (~5g)
- Worsted weight yarn (US 4) in dark green — for the tall succulent leaves, small amount (~10g)
- Worsted weight yarn (US 4) in light green — for the short succulent leaves, small amount (~10g)
- Small amount of pink yarn or pink felt — for cheek blushes
- Small amount of black yarn or embroidery floss — for the smile
- 2.5mm crochet hook
- Polyester fiberfill stuffing
- Yarn needle for sewing pieces together
- Stitch marker
- Scissors
- Two 6mm safety eyes (or embroider eyes with black yarn if preferred)
Abbreviations
| Abbreviation | Meaning |
|---|---|
| MR | Magic Ring |
| ch | Chain |
| sc | Single Crochet |
| inc | Increase (2 sc in same stitch) |
| dec | Invisible Decrease (sc2tog) |
| hdc | Half Double Crochet |
| sl st | Slip Stitch |
| BLO | Back Loops Only |
| FLO | Front Loops Only |
| st(s) | Stitch(es) |
| rnd | Round |
| ( ) | Stitch count at end of round |
| [ ] x n | Repeat instructions in brackets n times |
Technique notes:
- Magic Ring (MR): A adjustable loop that starts amigurumi pieces with no visible hole in the center; pull the tail to close it after the first round.
- Invisible Decrease (dec): Insert your hook into the front loop of the next two stitches, then pull yarn through both to combine them, keeping the surface smoother than a standard decrease.
- Back Loops Only (BLO): Work only through the back loop of each stitch, leaving the front loop free — this creates a visible ridge line, useful for defining the top edge of the pot.
Pattern Instructions
Part 1: Pot (Beige)
Rnd 1: MR, 6 sc in ring (6)
Rnd 2: inc in each st around (12)
Rnd 3: [sc, inc] x 6 (18)
Rnd 4: [sc 2, inc] x 6 (24)
Rnd 5: [sc 3, inc] x 6 (30)
Rnd 6-10: sc around (30) — work even for 5 rounds to build pot height
Rnd 11: BLO sc around (30) — this creates a defined rim ridge where the pot meets the soil
Rnd 12: sc around (30)
Rnd 13: sc around (30)
Fasten off, leaving a long tail for sewing. Do not stuff the pot heavily — just enough to hold its shape, since the soil and succulent will sit inside it.
Part 2: Soil (Brown)
Rnd 1: MR, 6 sc in ring (6)
Rnd 2: inc in each st around (12)
Rnd 3: [sc, inc] x 6 (18)
Rnd 4: sc around (18)
Fasten off, leaving a long tail for sewing. This disc sits inside the top of the pot as the visible “soil” layer.
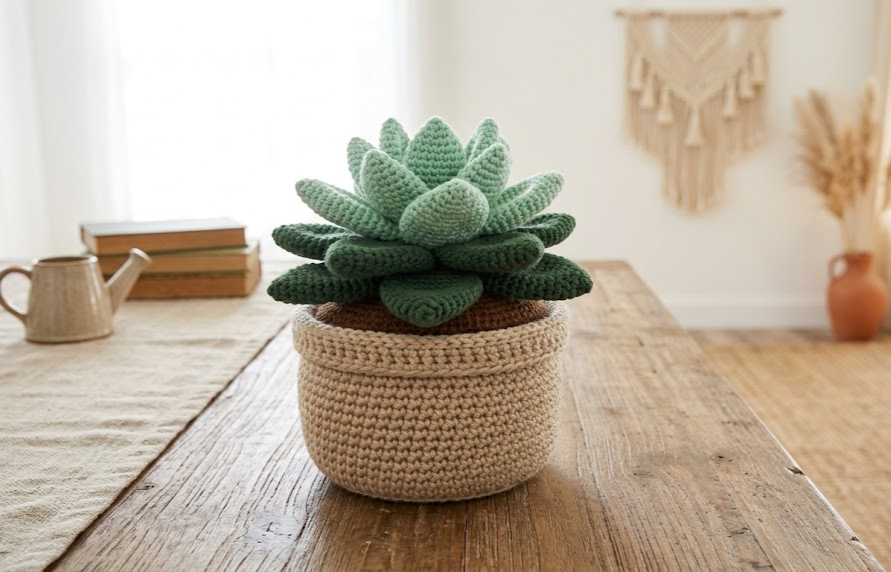
Part 3: Leaves — Light Green (make 6)
Rnd 1: MR, 4 sc in ring (4)
Rnd 2: [sc, inc] x 2 (6)
Rnd 3: sc around (6)
Rnd 4: sc around (6)
Rnd 5: dec, sc 2, dec (4)
Fasten off, leaving a long tail for sewing. Stuff lightly, just at the base, to help the leaf stand upright.
Part 4: Leaves — Dark Green (make 6)
Rnd 1: MR, 4 sc in ring (4)
Rnd 2: [sc, inc] x 2 (6)
Rnd 3: sc around (6)
Rnd 4: inc, sc 4, inc (8)
Rnd 5: sc around (8)
Rnd 6: sc around (8)
Rnd 7: dec, sc 4, dec (6)
Rnd 8: sc around (6)
Rnd 9: dec, sc 2, dec (4)
Fasten off, leaving a long tail for sewing. These are taller than the light green leaves and form the center of the succulent.
Assembly
- Lightly stuff the pot so it holds a rounded barrel shape without collapsing.
- Sew the soil disc into the top opening of the pot, matching stitches around the rim so it sits flush.
- Arrange the 6 dark green leaves in a tight cluster at the center of the soil circle, spacing them evenly about 1 cm apart at their base.
- Sew each dark green leaf base to the soil, angling them slightly outward so they fan upward and out (like a real succulent center).
- Arrange the 6 light green leaves around the outside of the dark green cluster, alternating positions so they peek out between the taller leaves.
- Sew each light green leaf base to the soil, about 0.5 cm out from the dark green ring.
- Attach the safety eyes to the front of the pot, about 1.5 cm apart and roughly 1 cm below the rim.
- Embroider a small curved smile in black yarn or floss below the eyes.
- Add two small pink cheek blushes just below and outside each eye using pink yarn stitched in small circles, or pink felt glued in place.
- Fluff and adjust the leaves with your fingers until the succulent looks full and balanced.
Tips for Beginners and Intermediate Crocheters
- Use a hook one size smaller than the yarn label recommends — this keeps stitches tight enough that stuffing won’t peek through, which matters a lot on the pot.
- When working the invisible decrease on leaf tips, keep tension slightly loose on the first pull-through so the stitch doesn’t pucker.
- Pin the leaves in place with removable stitch markers before sewing so you can adjust spacing and angle before committing to permanent stitches.
- If your dark green leaves look too stiff after stuffing, remove a small pinch of fiberfill — succulents look best with soft, slightly floppy tips.
- Weave in ends by running the tail through several stitches on the inside of the piece, not just tying a knot, so nothing works loose over time.
Variations
- Terracotta Pot Version: Swap the beige pot yarn for a rust or terracotta shade for a more classic plant-pot look.
- Mini Size: Work the same pattern with a 2mm hook and fingering weight yarn for a tiny 6 cm desk version.
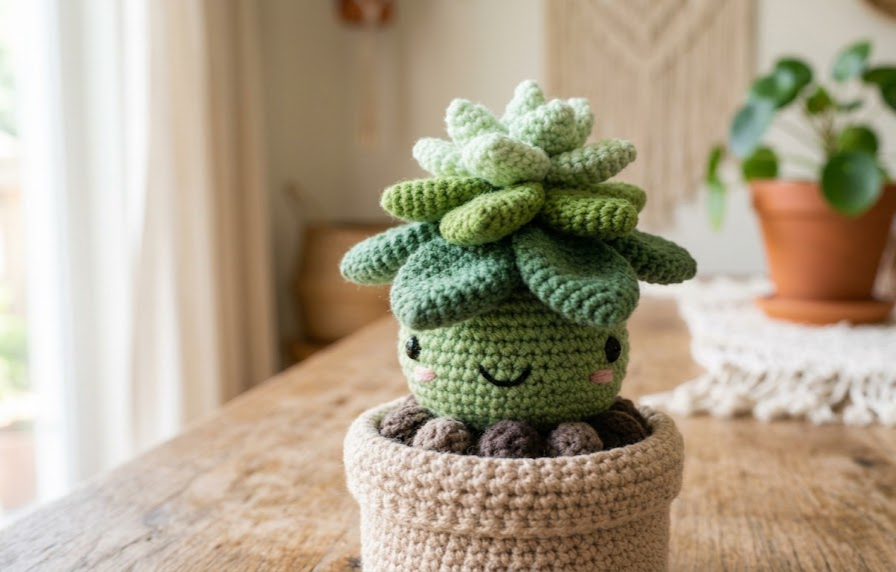
- Trailing Succulent: Add 3-4 long chains covered in single crochet, tipped with tiny light green leaves, draping over the pot’s edge like a string-of-pearls plant.
- Pastel Rainbow Set: Make several pots using pink, lavender, and yellow leaves instead of green for a whimsical, non-realistic succulent shelf display.
If you make this Happy Succulent in a Pot, I’d love to see it! Save this pattern to your Pinterest board so you can find it again, and tag your finished project with #FoodieRippleCrochet.



