
The Best Fluffy Pancakes recipe you will fall in love with. Full of tips and tricks to help you make the best pancakes.

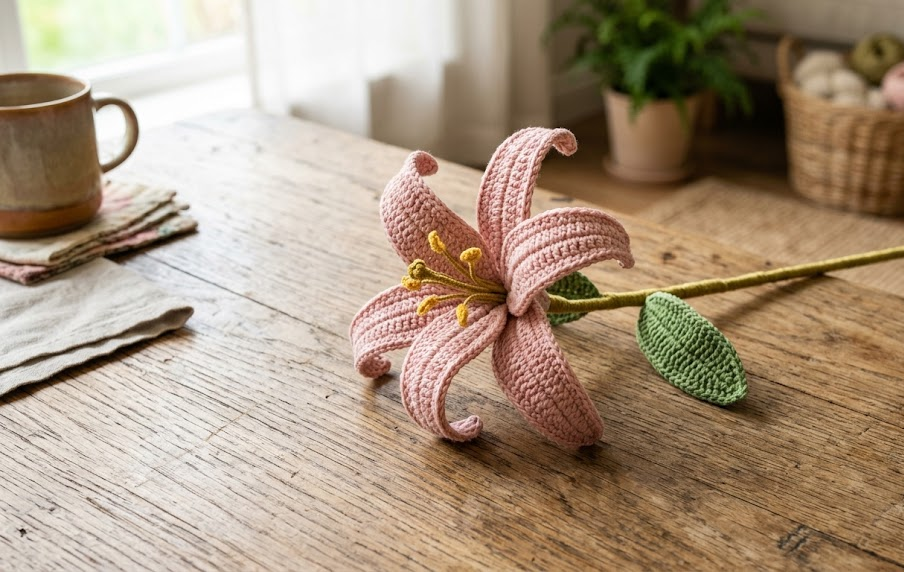
There’s something magical about a flower that stays in full bloom forever. This crochet lily flower pattern captures the elegant, curved petals of a real lily using nothing but yarn, a hook, and a bit of floral wire. Whether you’re building a bouquet for your coffee table, adding a handmade touch to a gift, or simply looking for a satisfying weekend project, this lily is a rewarding make that looks far more complicated than it actually is.
This pattern is perfect for crocheters who already know their basic stitches and want to step into wire-reinforced 3D crochet flowers. The curved, lifelike petal shape comes from strategic increases and decreases combined with a wire spine, so once you get the hang of the first petal, the rest come together quickly. By the end, you’ll have a lily that holds its shape, bends naturally, and never needs water.
|
Difficulty
Intermediate
|
Time
2.5–3 Hours
|
Hook Size
2.5mm (C/2)
|
Yarn Weight
Light (DK / #3)
|
Finished Size
~12cm Head, 28cm Stem
|
Gauge
- 16 stitches x 18 rows = 10cm x 10cm square in single crochet
- Hook used: 2.5mm (C/2)
- Yarn weight used: Light weight (DK / #3)
Gauge is not critical for this project since the petals are shaped individually, but working at this tension keeps your stitches tight enough to hide the wire cleanly.
Materials List
- Blush pink DK weight yarn – approximately 30g
- Moss green DK weight yarn – approximately 15g (stem and leaf)
- 2.5mm (C/2) crochet hook
- Floral stem wire, 6 pieces of 25cm each (petals) + 1 piece of 30cm (main stem)
- Tapestry needle
- Small scissors
- Optional: floral tape in green to wrap the stem
Abbreviations Table
| Abbreviation | Meaning |
|---|---|
| ch | chain |
| sc | single crochet |
| hdc | half double crochet |
| dc | double crochet |
| st(s) | stitch(es) |
| sl st | slip stitch |
| rep | repeat |
Pattern Instructions
Part 1: Petals (make 6)
Foundation: Ch 24, then 1 turning ch (do not count as a stitch).
Row 1 (first side of chain): Starting in 2nd ch from hook: 2 sc, 2 hdc, 13 dc, 2 hdc, 3 sc. (22 sts)
Row 1 (second side of chain): Rotate your work to crochet down the opposite/bottom loops of the same starting chain — this is called working the second side of the chain, and it’s what gives the petal its pointed leaf-like shape. Work: 3 sc, 2 hdc, 13 dc, 2 hdc, 2 sc in the last ch. (22 sts)
Technique note: at this point you have a flat, pointed oval shape made from both sides of the same chain, with 44 total stitches around the edge.
Row 2 (first side) – Add wire: Lay a 25cm piece of floral wire along the edge of Row 1, right against the stitches. You’ll crochet the next row directly over this wire to lock it in place, which is what lets the petal hold a gentle curve. Work 4 sc, 3 hdc, 11 dc, 2 hdc, 2 sc, working each stitch over both the previous row and the wire. (22 sts)
Row 2 (second side): Continue crocheting over the wire down the second side: 2 sc, 2 hdc, 11 dc, 3 hdc, 4 sc. (22 sts)
Fasten off, leaving a 15cm tail for sewing. Weave in the short end only; keep the sewing tail.
Repeat this entire process 5 more times for a total of 6 petals.
Part 2: Stem
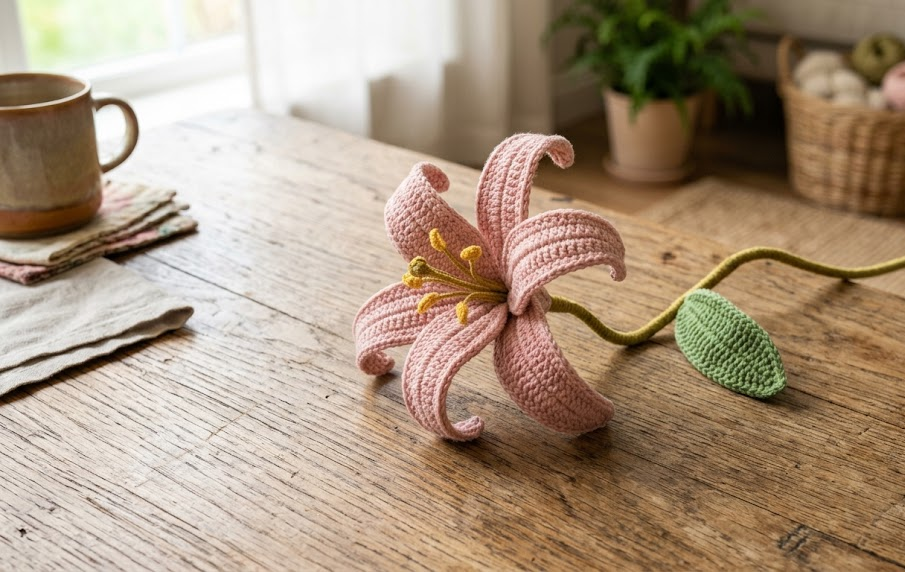
Foundation: Ch 6, sl st to first ch to form a ring using a magic ring or a simple joined chain — a magic ring is a adjustable loop that lets you close the center hole tightly once stitches are worked into it.
Rnd 1: 6 sc into ring. (6 sts)
Continue working sc in the round (do not join, work in a continuous spiral) for approximately 12cm, inserting the 30cm main stem wire into the tube as you go so it runs through the center. This closes the tube around the wire and gives the stem structure and poseability.
At the top of the tube, fasten off and pull the tail through the last stitches to close it snugly around the wire tip. (6 sts held throughout)
Part 3: Leaf
Foundation: Ch 13 + 1 turning ch.
Row 1: Sc in 2nd ch from hook, sc across. (12 sts)
Row 2: Ch 1, turn. Sc2tog, sc across, sc2tog. (10 sts)
Row 3: Ch 1, turn. Sc2tog, sc across, sc2tog. (8 sts)
Row 4: Ch 1, turn. Sc2tog, sc across, sc2tog. (6 sts)
Row 5: Ch 1, turn. Sc2tog twice, sc2tog. (3 sts)
Fasten off, leaving a long tail. Lay a short piece of leftover wire along the leaf’s center before sewing the edges closed for a firm, shapeable leaf.
Assembly Steps
- Lay all 6 petals side by side with the wired edges facing you.
- Using the sewing tail on each petal, whip-stitch the base (bottom 2cm) of each petal to its neighbor, working around in a circle so the petals fan out evenly, about 60 degrees apart.
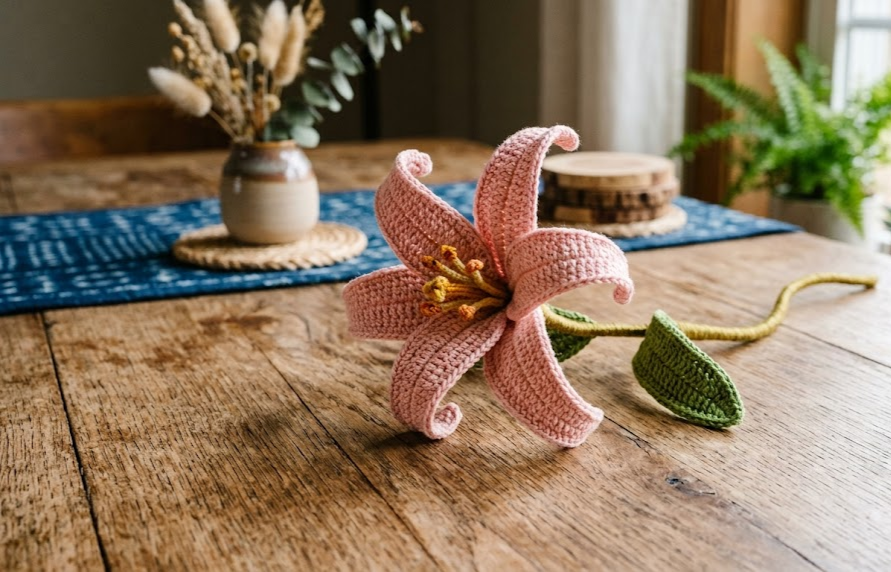
- Once all 6 are joined at the base, gently curl each petal outward and slightly backward with your fingers to mimic a lily’s open bloom.
- Insert the top of the stem tube up into the joined center of the petals, pushing it in about 2cm so it sits snugly, then stitch the base of the petals to the top of the stem tube to secure.
- Position the leaf against the stem approximately 8cm below the flower head and stitch or wrap with floral tape to attach.
- Bend the main stem gently at a 15-degree angle just below the flower head for a natural, relaxed look.
Beginner/Intermediate Tips
- When working the second side of the foundation chain, keep tension loose on your first attempt — chains twist easily and this is the step that trips up most beginners.
- Crocheting over wire feels stiff at first; go slow on Row 2 of each petal and check every few stitches that the wire hasn’t shifted out of place.
- If your petals look too flat, that’s normal before assembly — the curl comes from finger-shaping after all 6 are joined, not from the stitches themselves.
- Use a stitch marker on your last stitch of each row when working over wire, since the wire can make stitches hard to count by eye.
Variations
- Tiger Lily Style – use orange and yellow yarn with tiny brown French knot “freckles” added to the petals after assembly.
- Mini Bouquet – scale the pattern down using fingering weight yarn and a 2mm hook for a 6cm miniature version, great for bookmarks or corsages.
- White Wedding Lily – work the petals in white or ivory yarn with a soft yellow center stamen made from wrapped yarn threads.
- Potted Lily Display – make 3–5 stems at varying heights and arrange them in a small terracotta pot filled with dried moss or filler yarn for a permanent centerpiece.
Save this pattern to your crochet board so you can come back to it anytime! #FoodieRippleCrochet



