
The Best Fluffy Pancakes recipe you will fall in love with. Full of tips and tricks to help you make the best pancakes.

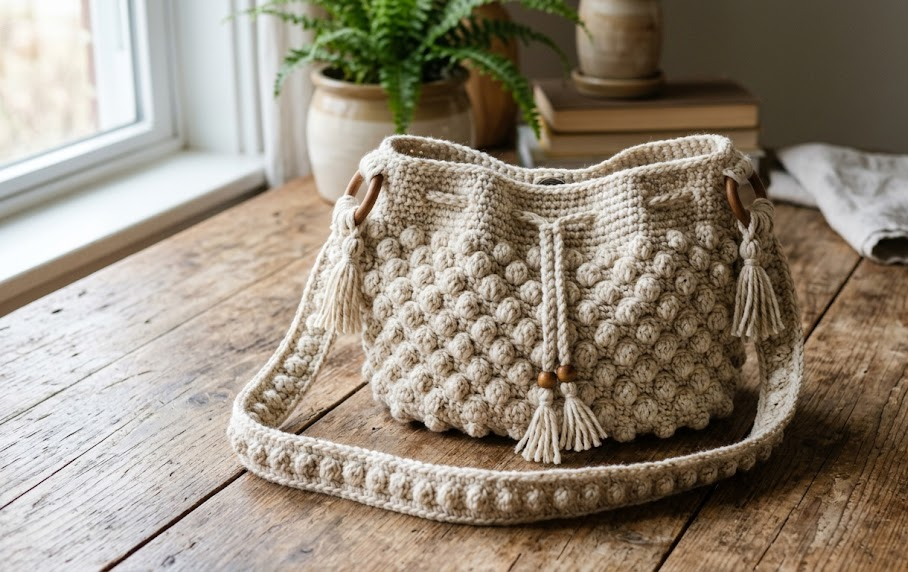
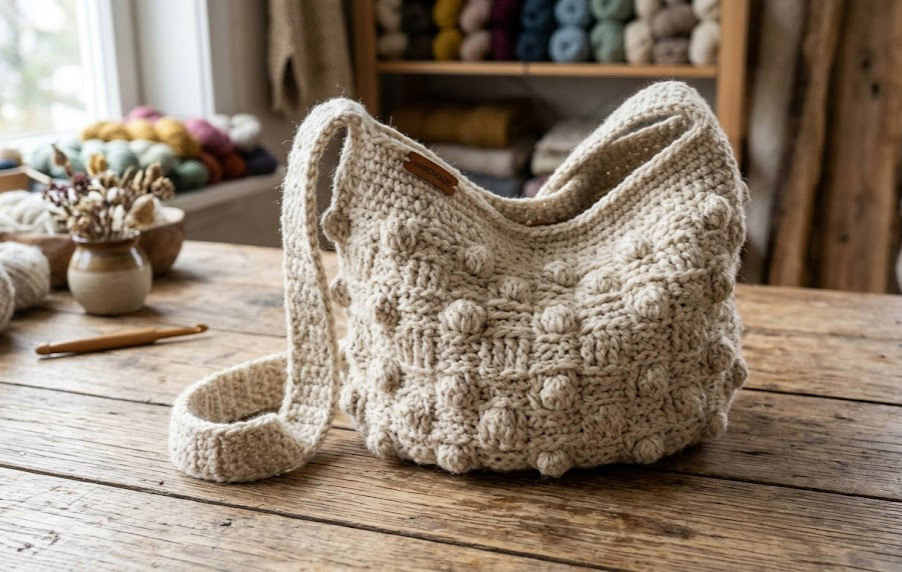
There’s something deeply satisfying about carrying a bag you made with your own hands, and this oatmeal bobble stitch hobo bag delivers that feeling in every stitch. With its soft, textured surface and slouchy, rounded silhouette, this bag feels like it belongs in a sun-drenched boho closet — the kind of piece that pairs effortlessly with linen dresses, wide-leg jeans, or a simple tee and sandals. It’s roomy enough for daily essentials, sturdy enough for everyday wear, and textured enough to look intentional even when you’re just running errands.
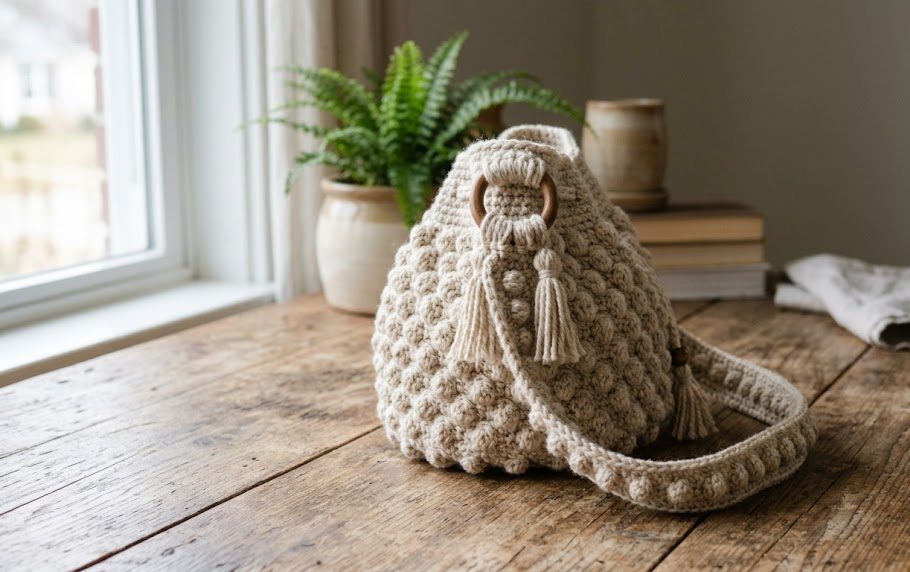
This pattern is written for the intermediate crocheter who’s comfortable with basic stitches and ready to tackle a bobble stitch pattern worked in the round. The finished bag has a generously deep body that tapers into a long, comfortable shoulder strap, so you can wear it cross-body or over the shoulder depending on your mood. The bobble stitch gives the surface a soft, popcorn-like texture that catches the light beautifully and adds structure to the fabric, so the bag holds its shape without feeling stiff.
Because this bag is worked in one continuous color, it’s also a wonderful stash-buster if you have a few skeins of bulky neutral yarn sitting around. Oatmeal, cream, or a soft taupe all work beautifully, but don’t be afraid to experiment — this pattern looks just as good in a warm terracotta or a deep sage green.
Grab your hook, get comfortable, and let’s make a bag you’ll actually want to carry every day.
|
Difficulty
Intermediate
|
Time
8–10 hours
|
Hook Size
6mm (J/10)
|
Yarn Weight
Bulky (5)
|
Finished Size
40cm x 35cm
|
Gauge
10 stitches x 8 rows = 10cm x 10cm in Bobble Stitch pattern, using a 6mm (US J/10) hook and bulky weight yarn.
Gauge is not critical for this project since the bag doesn’t need to fit a specific size, but if your swatch comes out significantly smaller or larger than 10cm, adjust your hook size up or down until you match gauge, so your finished bag doesn’t turn out too tight or too floppy.
Materials List
- 4 skeins (approximately 800g total) of bulky weight (Category 5) yarn in oatmeal/cream — cotton-acrylic blend recommended for structure and drape
- 6mm (US J/10) crochet hook
- Yarn needle for weaving in ends
- Stitch marker
- Scissors
- Optional: fabric bag lining and sewing needle/thread, for adding an interior lining
- Optional: magnetic snap closure or button, for a secure top closure
Abbreviations Table
| Abbreviation | Meaning |
|---|---|
| ch | chain |
| sc | single crochet |
| sl st | slip stitch |
| st(s) | stitch(es) |
| rnd(s) | round(s) |
| MR | magic ring |
| BS | bobble stitch (5-double crochet cluster) |
| inc | increase (2 sc in same stitch) |
| dec | invisible decrease |
| sk | skip |
| rep | repeat |
Pattern Instructions
Part 1: Base
Note: The base is worked in a spiral using a magic ring, which is a technique for starting a piece in the round without leaving a hole in the center — you’ll cinch the loop tight after the first round.
Rnd 1: Make a MR, ch 1 (does not count as st), 6 sc into ring, pull tail to close. (6)
Rnd 2: Inc in each st around. (12)
Rnd 3: *Sc 1, inc in next st; rep from * around. (18)
Rnd 4: *Sc 2, inc in next st; rep from * around. (24)
Rnd 5: *Sc 3, inc in next st; rep from * around. (30)
Rnd 6: *Sc 4, inc in next st; rep from * around. (36)
Rnd 7: *Sc 5, inc in next st; rep from * around. (42)
Rnd 8: *Sc 6, inc in next st; rep from * around. (48)
Place a stitch marker in the last stitch of Rnd 8 to mark the transition point between the base and the sides.
Part 2: Body (Bobble Stitch Pattern)
Note: The bobble stitch is made by working 5 incomplete double crochets into one stitch, then pulling the yarn through all loops on the hook at once, which creates a raised textured bump. To make one BS: yarn over, insert hook into stitch, pull up a loop, yarn over, pull through 2 loops (2 loops left on hook, incomplete dc made) — repeat this 4 more times into the same stitch (6 loops on hook total, including your working loop), then yarn over and pull through all 6 loops.
Rnd 9: Ch 1 (does not count as st), sc in same st as join, *BS in next st, sc in next st; rep from * around, join with sl st to first sc. (48 sts: 24 sc, 24 BS)
Rnds 10–20: Ch 1, sc in same st, *sc in next st, BS in next st; rep from * around (offsetting the bobbles from the previous round creates a brick-like texture), join with sl st to first sc. (48)
Continue Rnd 10’s pattern, alternating which stitch gets the bobble each round, until the body measures approximately 22cm tall from the base.
Part 3: Top Shaping
Rnd 21: *Sc 6, dec; rep from * around. (42)
Note: Invisible decrease is worked by inserting your hook into the front loops only of the next 2 stitches, then pulling up a loop through both and completing as a normal single crochet — this creates a smoother decrease than a standard sc2tog.
Rnd 22: Sc in each st around. (42)
Rnd 23: *Sc 5, dec; rep from * around. (36)
Rnd 24: Sc in each st around, then sl st to next st and fasten off, leaving a long tail for sewing. (36)
Part 4: Strap
The strap is worked flat as a long rectangle, then folded and seamed for extra strength.
Ch 13.
Row 1: Sc in 2nd ch from hook and each ch across, turn. (12)
Rows 2–140: Ch 1, sc in each st across, turn. (12)
Note: Working the second side of the starting chain simply means you’re crocheting into the same foundation chain again on the return pass — here, you won’t need to, since the strap is worked flat in straight rows, but keep your tension even across all 140 rows so the strap doesn’t flare or pucker.
Continue until the strap measures approximately 75cm long unstretched. Fasten off, leaving a long tail.
Fold the strap in half lengthwise so the wrong sides face each other, and using the yarn needle, whip stitch along the open edge to close it into a tube, creating a thicker, more structured strap.
Assembly Steps
- Weave in all loose ends from the base and body using your yarn needle, working them through the backs of several stitches to secure.
- Lay the bag body flat and fold in half to find the two side points where the strap will attach — these should sit directly across from each other, roughly 20cm apart along the top opening.
- Position one end of the strap on the inside of the bag, overlapping the top edge by 4cm.
- Using the tail from the strap, whip stitch the strap end securely to the inside of the bag opening, sewing back and forth 3–4 times for strength since this point carries the most weight.
- Repeat steps 3–4 for the other end of the strap on the opposite side of the bag.
- If adding a lining, cut fabric to match the interior shape of the bag with a 1.5cm seam allowance, sew side seams, then hand-stitch the lining just inside the top opening.
- If adding a magnetic snap closure, position the two halves 3cm below the top edge, centered on the inside front and back of the bag, and sew or install according to your snap’s instructions.
- Steam-block the finished bag lightly by hovering a steam iron 2–3cm above the surface (do not touch the yarn directly) to even out stitch tension and help the bobbles sit uniformly.
Beginner/Intermediate Tips
- Keep your tension slightly looser than usual when working the bobble stitches — this keeps the bumps soft and rounded rather than tight and puckered.
- Use a stitch marker at the start of every round; because this pattern is worked in a continuous spiral for the base, it’s easy to lose track of where the round begins.
- If your bobbles are twisting or leaning, try working your 5 incomplete double crochets a touch more loosely, then tighten only the final pull-through.
- When seaming the strap into a tube, pin or clip it every 15cm before sewing to keep the tube from twisting as you go.
- Bulky yarn splits easily, so use a hook with a slightly rounded tip and avoid splitting the plies as you insert your hook into stitches.
Variations
- Color-block version: Switch to a contrasting color for the last 3 rounds of the body and the entire strap for a two-tone look.
- Mini crossbody: Reduce the base to Rnd 6 (36 sts) and shorten the strap to 110cm for a smaller bag worn cross-body.
- Fringe trim: Add a row of long cut fringe around the top opening before the final round for a fun, textured boho finish.
- Chunky tassel accent: Attach a large yarn tassel to one side seam or the strap attachment point for a decorative flourish.
- Striped bobbles: Alternate two coordinating colors every few rounds in the body section to give the bobble texture a subtle ombré or striped effect.
Save This Pattern
Love this cozy boho bag? Save this pin so you can come back to it anytime you’re ready to crochet your own oatmeal bobble stitch hobo bag! #FoodieRippleCrochet



