The Best Fluffy Pancakes recipe you will fall in love with. Full of tips and tricks to help you make the best pancakes.
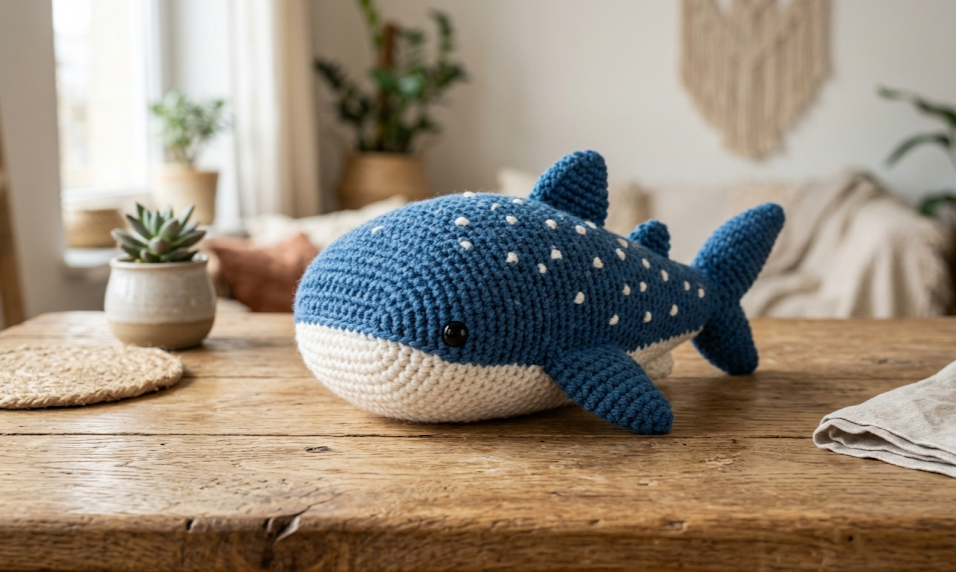
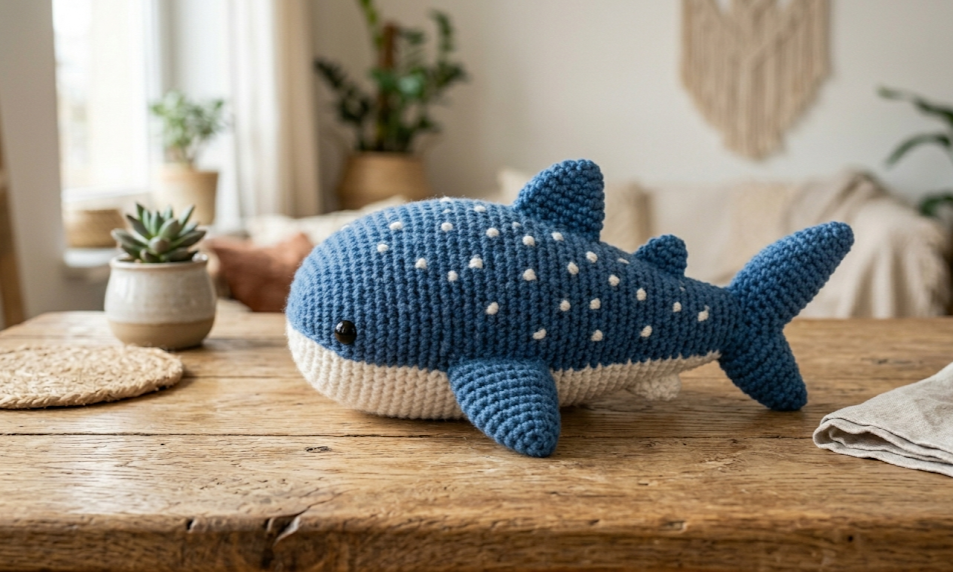
There is something undeniably charming about a tiny whale shark made entirely of yarn. This free crochet whale shark amigurumi pattern is the perfect project for anyone who loves ocean creatures, kawaii-style plushies, or simply wants to try their hand at a beginner-friendly amigurumi. With its chubby round body, white belly spots, and tiny dorsal fins, this little guy is guaranteed to steal hearts wherever he goes.
Whether it’s destined to sit on a bookshelf, become a cherished stuffed toy, or be gifted to someone special, this whale shark crochet pattern delivers maximum cuteness with a manageable skill level. Read on for the full free pattern, complete with materials, step-by-step instructions, and helpful beginner tips.
|
Difficulty
Beginner
|
Time
3–5 Hours
|
Hook Size
3.5 mm
|
Yarn Weight
Worsted (4)
|
Finished Size
5–6 inches
|
Why You’ll Love This Whale Shark Amigurumi
Whale sharks are the gentle giants of the ocean — and this miniature version captures that same sweet, peaceful energy. The pattern uses basic amigurumi techniques like working in the round, increasing and decreasing, and simple embroidery for the signature white spots. The finished plushie is approximately 5–6 inches long, making it a satisfying size that doesn’t take weeks to complete.
It’s also a fantastic stash-buster project. A single skein of blue worsted weight yarn is more than enough for the body, and small amounts of white yarn handle the belly and spot details.
Materials Needed
- Yarn: Worsted weight yarn (Category 4) in Royal Blue (main color) and White (for belly and spots)
- Hook: 3.5 mm crochet hook
- Safety eyes: Two 9mm black safety eyes
- Stuffing: Polyfill or fiberfill stuffing
- Yarn needle: For weaving in ends and assembly
- Scissors
- Stitch markers
- Optional: Small amount of light blue yarn for fin color variation
Abbreviations
- MR – Magic Ring
- sc – Single crochet
- inc – Increase (2 sc in same stitch)
- dec – Invisible decrease (sc2tog through front loops)
- ch – Chain
- sl st – Slip stitch
- BLO – Back loop only
- FLO – Front loop only
- rnd – Round
- st(s) – Stitch(es)
Pattern Instructions
Body (Blue)
The body is worked from the nose to the tail, shaping a wide, slightly flattened oval.
Rnd 1: MR, 6 sc (6)
Rnd 2: Inc in each st (12)
Rnd 3: [sc 1, inc] × 6 (18)
Rnd 4: [sc 2, inc] × 6 (24)
Rnd 5: [sc 3, inc] × 6 (30)
Rnd 6: [sc 4, inc] × 6 (36)
Rnd 7: [sc 5, inc] × 6 (42)
Rnd 8–14: sc around (42) – 7 rounds even
Rnd 15: [sc 5, dec] × 6 (36)
Rnd 16: [sc 4, dec] × 6 (30)
At Rnd 16, attach safety eyes between Rnds 10 and 11, approximately 10 stitches apart. Stuff the head firmly.
Rnd 17: [sc 3, dec] × 6 (24)
Rnd 18: [sc 2, dec] × 6 (18)
Rnd 19: [sc 1, dec] × 6 (12)
Rnd 20: dec × 6 (6)
Close the opening and fasten off. Leave a long tail for sewing.
White Belly Panel
Work a flat oval in white yarn and sew it onto the underside of the body.
Row 1: ch 8, sc in 2nd ch from hook, sc across (7)
Rows 2–10: ch 1, turn, sc across (7)
Row 11: ch 1, turn, dec, sc 3, dec (5)
Row 12: ch 1, turn, dec, sc 1, dec (3)
Row 13: ch 1, turn, sc3tog (1)
Fasten off and leave a tail for sewing. Pin the belly panel to the flat underside of the body and sew in place using whip stitch.
White Spot Embroidery
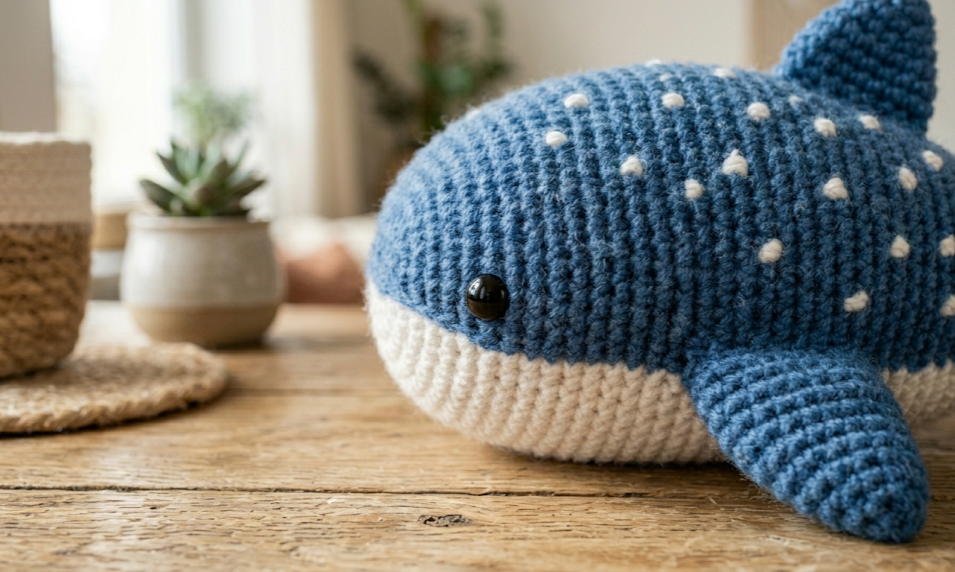
Using white yarn and a yarn needle, embroider small horizontal dash stitches across the top and sides of the blue body, mimicking the signature spot pattern of a real whale shark. Space them randomly in 4–5 rows across the back for the most realistic effect.
Pectoral Fins × 2 (Blue)
Rnd 1: MR, 6 sc (6)
Rnd 2: [sc 1, inc] × 3 (9)
Rnd 3: [sc 2, inc] × 3 (12)
Rnd 4–5: sc around (12)
Rnd 6: [sc 2, dec] × 3 (9)
Do not stuff. Flatten and close by sewing across the opening. Leave a tail for attaching to the body sides.
Dorsal Fin × 1 (Blue)
Rnd 1: MR, 4 sc (4)
Rnd 2: inc, sc 2, inc (6)
Rnd 3: inc, sc 4, inc (8)
Rnd 4: sc around (8)
Do not stuff. Flatten and sew closed. Leave a tail for attaching to the top center of the body.
Small Top Fins × 2 (Blue)
Rnd 1: MR, 4 sc (4)
Rnd 2: [sc 1, inc] × 2 (6)
Rnd 3: sc around (6)
Flatten and close. Leave a tail. These are the two smaller fins placed just behind the dorsal fin.
Tail Fin (Blue)
Work two identical flat pieces and sew them together.
Row 1: ch 6, sc in 2nd ch from hook, sc across (5)
Rows 2–4: ch 1, turn, inc, sc to last st, inc (increase each side by 1 each row – ends at 11 sts)
Row 5: ch 1, turn, dec, sc to last 2, dec (9)
Row 6: ch 1, turn, dec, sc 5, dec (7)
Make two of these pieces. Hold them together with wrong sides facing and sc around the outside edges to join, stuffing lightly before closing. Leave a tail for sewing.
Assembly
Lay out all pieces before sewing to plan the placement.
- Sew the white belly panel to the flat underside of the body.
- Attach the two pectoral fins on either side of the body, just behind the head, angling them slightly downward.
- Sew the dorsal fin to the top center of the body, roughly one-third of the way back from the nose.
- Place the two small top fins directly behind the dorsal fin, side by side.
- Attach the tail fin at the narrowest end of the body, centered both horizontally and vertically.
- Weave in all ends.
- Add the white spot embroidery if not already done, making sure it covers the top and sides but leaves the belly clean.
Beginner Tips
Use stitch markers. Amigurumi is worked in a continuous spiral, so it’s easy to lose your place. Place a stitch marker at the beginning of each round and move it up as you go.
Don’t skip the magic ring. The magic ring (MR) creates a tight, hole-free center for your rounds. It’s worth mastering for clean amigurumi results.
Stuff firmly but not too tight. Good stuffing gives your whale shark a satisfying shape. Push stuffing into the nose area first using a pencil eraser or stuffing tool before closing.
Keep embroidery stitches consistent. For the white spots, try to keep each dash stitch roughly the same length (about 3–4 mm) and use the same number of wraps for a tidy, polished look.
Safety eyes vs. embroidered eyes. Safety eyes give a cute, professional look. If making this for a very young child, embroider the eyes with black yarn instead for safety.
Variations to Try
Pastel Ocean Version: Swap the royal blue for a soft sky blue and use cream instead of bright white for a dreamy, vintage-toy aesthetic.
Mini Keychain Version: Work the entire pattern with fingering weight yarn and a 2.0 mm hook to create a tiny version that fits on a bag or backpack clip.
Rainbow Whale Shark: Use a variegated blue-purple-teal yarn for the body and omit the spots for a magical galaxy-ocean look.
Baby Shower Gift Set: Make three whale sharks in different sizes using sport, worsted, and bulky yarn for an adorable matching family set.
Finishing Touches
Block the finished plushie very lightly with a steam iron held at a distance if the yarn is acrylic — this can help the pieces sit more smoothly together and give the embroidered spots a flatter, neater appearance. A light brush with a soft bristle brush can also fluff up the yarn slightly for a more plush texture.
This whale shark amigurumi makes a wonderful gift for ocean lovers of all ages, a perfect first amigurumi project for beginners, and a delightful addition to any handmade toy collection.
Loved this pattern? Save it to your Pinterest boards and share your finished whale shark with the hashtag #FoodieRippleCrochet — there’s nothing more inspiring than seeing your creations come to life!


