
The Best Fluffy Pancakes recipe you will fall in love with. Full of tips and tricks to help you make the best pancakes.

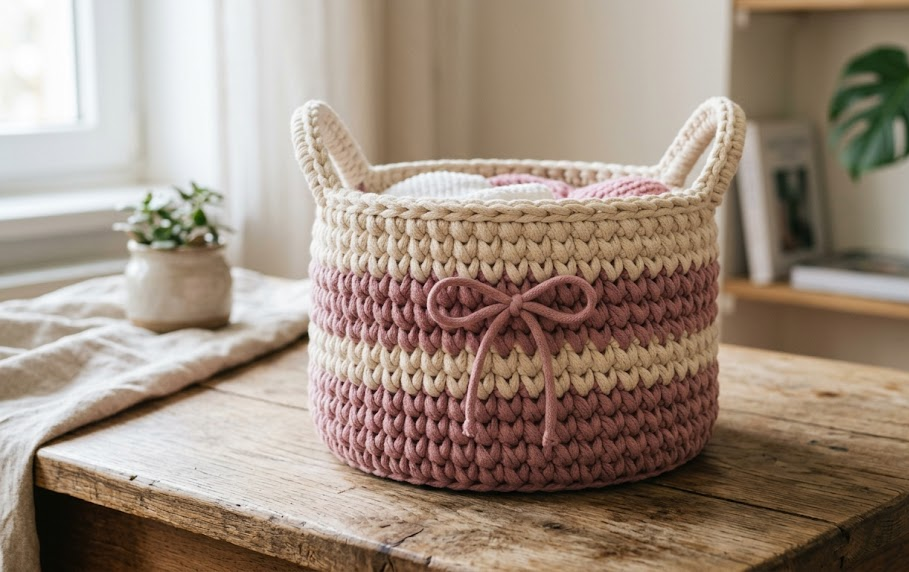
If you’ve been looking for a quick, satisfying project that uses up small amounts of yarn and results in something genuinely useful, this little crochet basket is exactly what you need. With its soft dusty pink and cream color-blocking, dainty loop handles, and a sweet little bow tied at the front, it has that cozy, boho-cottage charm that looks just as good sitting on a bathroom shelf holding cotton balls as it does on a desk corner holding paperclips and hair ties.
This pattern is worked entirely in single crochet, worked in continuous rounds (no joining, no turning), which makes it one of the most beginner-friendly projects you can pick up. If you already know how to make a magic ring and a single crochet stitch, you have every skill you need to finish this basket from start to end in about an hour and a half. It’s also a wonderful “stash buster” project since it only needs small amounts of two yarn colors.
Whether you’re a total beginner looking for your next confidence-building project, or an experienced crocheter wanting a fast, mindless make for movie night, this little basket delivers a polished, giftable result every time.
|
Difficulty
Beginner
|
Time
1.5 Hours
|
Hook Size
4mm (G/6)
|
Yarn Weight
Worsted (#4)
|
Finished Size
8cm x 6cm
|
Gauge
- Gauge: 16 stitches x 18 rows = 10cm x 10cm (4in x 4in) square in single crochet
- Hook used for gauge: 4mm (US G/6)
- Yarn used for gauge: Worsted weight (Medium, #4)
Gauge is not critical for this project since it’s a small decorative basket rather than a garment, but matching gauge will help you get the exact 8cm finished diameter shown in the photos. If your circle is coming out larger than expected, try a smaller hook; if it’s coming out tight and cupped, size up.
Materials List
- Worsted weight yarn (Medium, #4) in dusty pink — approximately 25g / 55 yards
- Worsted weight yarn (Medium, #4) in cream/ivory — approximately 15g / 35 yards
- 4mm (US G/6) crochet hook
- Yarn needle for weaving in ends
- Stitch marker (or scrap yarn) to mark the start of each round
- Scissors
Abbreviations
| Abbreviation | Meaning |
|---|---|
| ch | chain |
| sc | single crochet |
| sl st | slip stitch |
| st(s) | stitch(es) |
| rep | repeat |
| ( ) | stitch count at end of round |
| MR | magic ring |
Pattern Instructions
Part 1: Base (Pink)
Start with a magic ring (a technique where you loop the yarn around your fingers and crochet your first round of stitches into the loop, then pull the tail to close it snugly with no visible hole in the center — ideal for anything worked in the round).
Round 1: Ch 1, work 6 sc into the magic ring. Pull the tail firmly to close the ring. (6 sc)
Round 2: 2 sc in each st around. (12 sc)
Round 3: *Sc in next st, 2 sc in next st; rep from * around. (18 sc)
Round 4: *2 sc in next st, sc in next 2 sts; rep from * around. (24 sc)
Round 5: *2 sc in next st, sc in next 3 sts; rep from * around. (30 sc)
Your flat circle base is now complete and should measure approximately 8cm across.
Part 2: Sides (Pink, then Cream, then Pink)
From here you’ll work straight rounds (no increasing) to build up the walls of the basket. Working into the back loop only is optional here — working through both loops (standard sc) gives the smooth, tight stripe look shown in the photos.
Round 6: Sc in each st around. (30 sc)
Round 7: Sc in each st around. (30 sc)
Change to cream yarn at the end of Round 7 (drop pink, pull cream through the last two loops of your final stitch to switch colors cleanly). Carry the pink yarn up inside your work or cut and weave in later — either works for this small project.
Round 8: Sc in each st around. (30 sc)
Round 9: Sc in each st around. (30 sc)
Round 10: Sc in each st around. (30 sc)
Change back to pink yarn at the end of Round 10.
Round 11: Sc in each st around. (30 sc)
Fasten off, leaving a 15cm tail for weaving in.
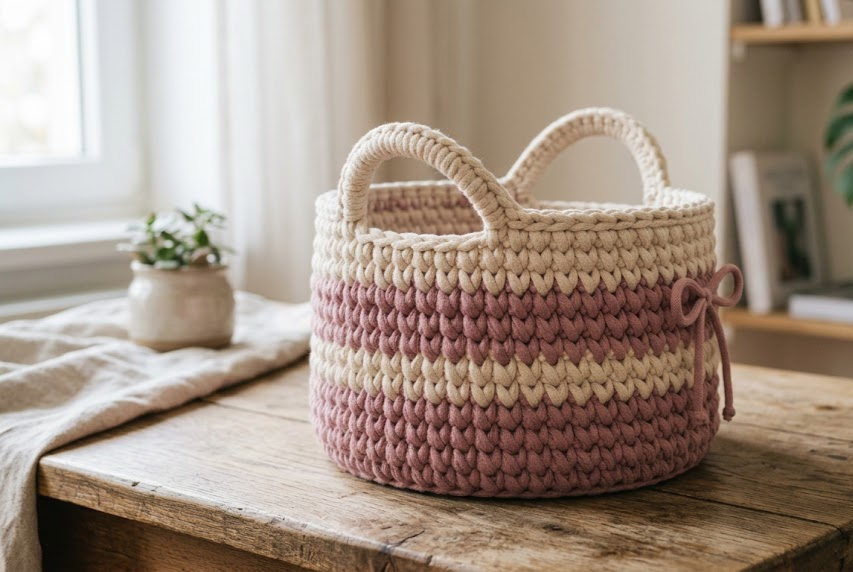
Your basket walls should now stand about 6cm tall, with a two-tone stripe: pink base and rim, cream middle band.
Part 3: Handles (Pink)
Make two handles, worked identically.
Ch 15.
Row 1: Sl st in 2nd ch from hook (this simply means skipping the very first chain closest to your hook and working your first stitch into the next one down — standard for turning a chain into a strap), then sl st in each ch across. Fasten off, leaving a 10cm tail on each end for attaching.
Repeat to make a second handle.
Assembly Steps
- Lay your basket flat and decide where you’d like the two handles positioned — directly opposite each other works best for balance.
- Using the tail ends, sew one end of the first handle to the inside rim of the basket, about 1cm down from the top edge.
- Sew the opposite end of that same handle to the inside rim directly across from the first attachment point (roughly at the halfway mark around the circle).
- Repeat with the second handle, positioning it perpendicular to the first if you’d like an even 4-point look, or directly parallel if you prefer a classic 2-handle basket shape.
- Weave in all remaining ends on the inside of the basket so the outside stays clean and smooth.
- Cut a 40cm length of pink yarn. Tie it into a simple bow shape by looping both ends and knotting the center, then trim the tails to about 2cm each.
- Stitch the bow to the front of the basket, centered on the cream stripe, using the yarn needle and a few small securing stitches through the knot.
Beginner Tips
- Use a stitch marker in the first stitch of every round — with continuous rounds and no slip-stitch join, it’s very easy to lose track of where a round starts.
- Keep your tension even and slightly snug on the base rounds; a loose base will make your basket floppy instead of structured.
- When switching colors, always make the color change on the last stitch of the previous round so the new color starts cleanly on Round 1 of the new stripe.
- If you want a sturdier basket that holds its shape without sagging, try holding two strands of yarn together throughout, or work with a slightly smaller hook than your yarn label recommends.
Variations
- Ombré Basket – Use three shades of the same color family (light to dark) instead of just pink and cream for a gradient effect.
- Mini Storage Set – Make three baskets in graduating sizes (add or remove 1-2 rounds to the base) for a nesting desk organizer set.
- No-Handle Bowl Version – Skip the handles entirely and stop after Round 11 for a simple trinket bowl.
- Solid Color Statement Basket – Skip the color change and work the entire basket in one bold color, like terracotta or sage green, for a more modern look.
Save This Pattern
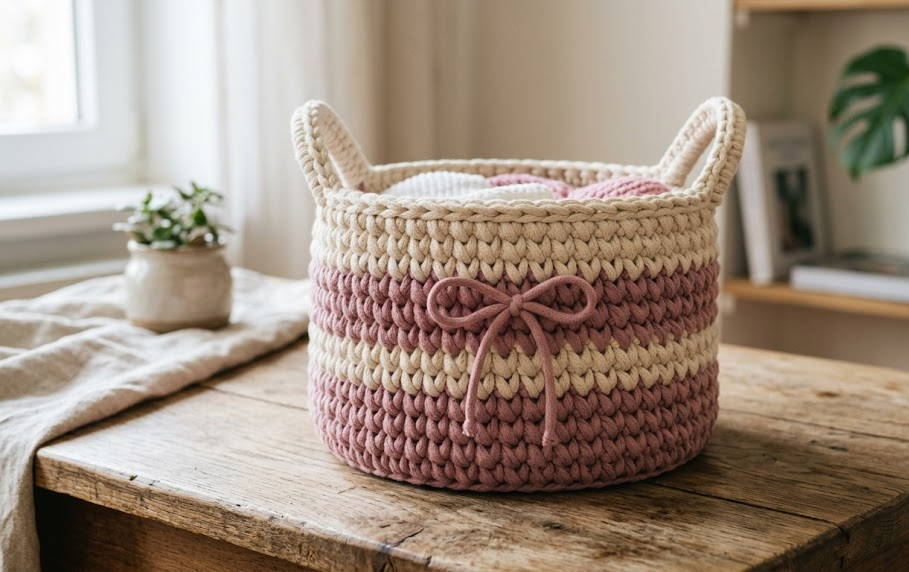
Loved this little basket? Save this pin so you can find it again next time you want a fast, cozy crochet project! Tag your finished makes with #FoodieRippleCrochet — I’d love to see your version.



