
The Best Fluffy Pancakes recipe you will fall in love with. Full of tips and tricks to help you make the best pancakes.

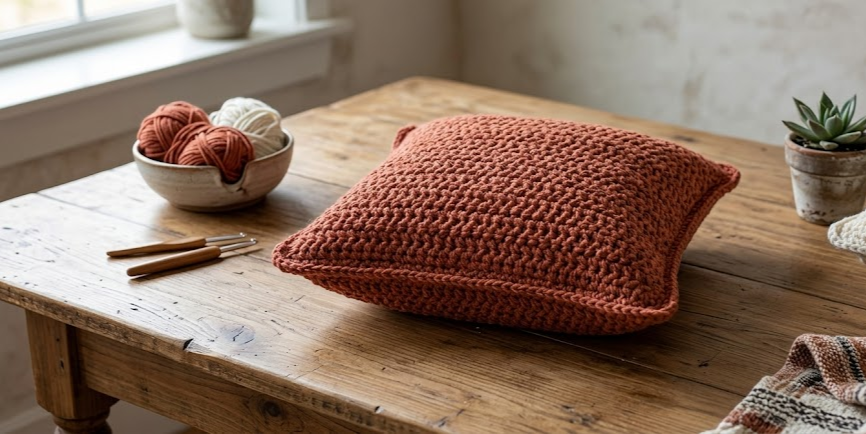
There’s something deeply satisfying about a handmade pillow cover — the way it transforms a plain couch or bed into a space that feels warm, textured, and lived-in. This terracotta moss stitch pillow cover is exactly that kind of project. It works up in a soft, nubby texture that catches the light beautifully, and the rich rust-orange tone pairs perfectly with neutral linens, wooden furniture, and cozy autumn-inspired interiors.
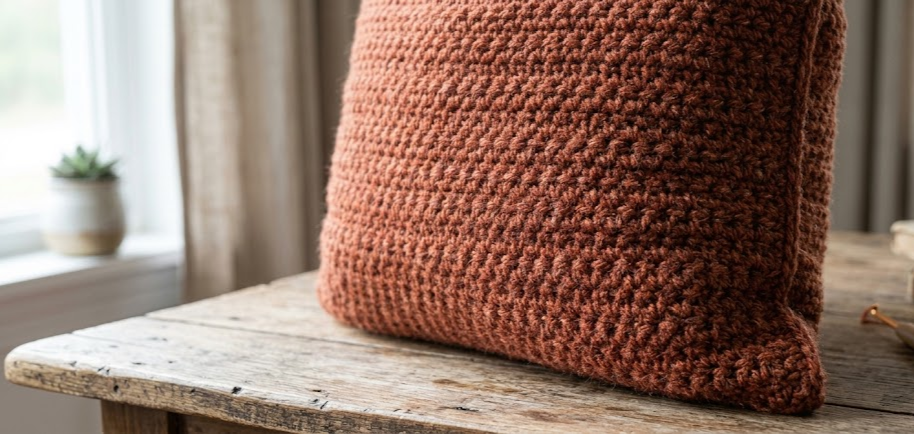
This pattern is ideal for confident beginners who already know the basics of single crochet and chain stitches, as well as intermediate crocheters looking for a quick, satisfying weekend project. The moss stitch (sometimes called the granite stitch) creates a dense, structured fabric that holds its shape well, making it perfect for pillow covers that need to look neat and full rather than floppy. Because the stitch pattern is a simple two-row repeat, it’s also an excellent project for practicing consistent tension while working on something you’ll actually use every day.
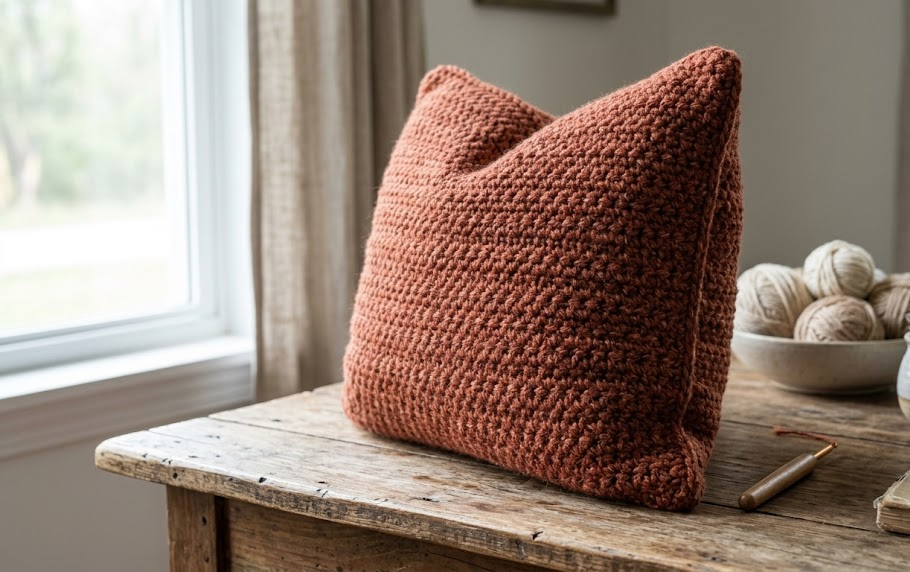
By the end of this pattern, you’ll have a fully finished 18-inch square pillow cover with a clean, envelope-style back closure, ready to slip over your favorite pillow insert. Let’s get started.
|
Difficulty
Beginner-Friendly
|
Time
4-5 Hours
|
|
Hook Size
5.5mm (I-9)
|
Yarn Weight
Bulky (5)
|
|
Finished Size
45cm x 45cm (18in x 18in)
|
|
Gauge
- 12 stitches x 14 rows = 10cm x 10cm (4in x 4in) in moss stitch pattern
- Hook used: 5.5mm (US size I-9)
- Yarn weight used: Bulky weight (Weight 5)
Gauge is important for this project because it determines your finished pillow size. Before starting, work a small swatch of about 15 stitches across and 10 rows tall, then measure the middle 10cm to check you’re matching gauge. If your swatch is smaller than the gauge above, try a larger hook. If it’s larger, size down.
Materials List
- Bulky weight yarn (Weight 5) in terracotta/rust — approximately 250g (2 skeins of 125g/210m each)
- 5.5mm (US I-9) crochet hook
- Yarn needle for weaving in ends and seaming
- Stitch markers (2–3)
- Scissors
- 18-inch (45cm) square pillow insert
- Optional: 3 decorative buttons for the envelope closure (1.5cm–2cm diameter)
Abbreviations Table
| Abbreviation | Meaning |
|---|---|
| ch | chain |
| sc | single crochet |
| sc2tog | single crochet 2 together (decrease) |
| st(s) | stitch(es) |
| sp | space |
| rep | repeat |
| RS | right side |
| WS | wrong side |
| sl st | slip stitch |
| BLO | back loop only |
Pattern Instructions
Part 1: Front Panel
Ch 55.
Row 1 (RS): Sc in 2nd ch from hook and in each ch across. (54 sts)
Technique note: When working into a starting chain, insert your hook under the top loop and back bump of the chain — this gives a cleaner, more stable edge than working into just the top loop.
Row 2: Ch 1, turn. Sc in first st, *ch 1, skip next st, sc in next st; rep from * across to last st, sc in last st. (54 sts total, alternating sc and ch-1 spaces)
Row 3 (Moss Stitch Row): Ch 1, turn. Sc in first ch-1 sp, *ch 1, sc in next ch-1 sp; rep from * across, ending with sc in last st. (54 sts)
Rows 4–34: Repeat Row 3 thirty-one more times. This builds the moss stitch texture. Your panel should measure approximately 45cm (18in) square at this point — check periodically and add or remove rows as needed to match your gauge swatch.
Fasten off. Weave in ends.
Part 2: Back Panel (Two Overlapping Pieces)
You’ll make two rectangular pieces that overlap in the middle to form an envelope back closure.
Back Piece A:
Ch 55.
Row 1: Sc in 2nd ch from hook and across. (54 sts)
Row 2: Ch 1, turn. Sc in first st, *ch 1, skip next st, sc in next st; rep from * across, sc in last st. (54 sts)
Rows 3–20: Repeat Row 3 pattern from the Front Panel (moss stitch) for 18 more rows, or until piece measures approximately 30cm (12in) tall.
Fasten off, leaving a 30cm tail for seaming.
Back Piece B:
Repeat the same instructions as Back Piece A, working until this piece measures approximately 33cm (13in) tall. This slightly longer piece will overlap on top of Piece A.
Fasten off, leaving a 30cm tail for seaming.
Part 3: Button Band (Optional)
If adding buttons, work this small band along the top edge of Back Piece B before assembly.
Row 1 (RS): Join yarn in first st of top edge, ch 1, sc evenly across. (54 sts)
Row 2 (Buttonhole Row): Ch 1, turn. Sc in first 8 sts, *ch 2, skip 2 sts, sc in next 12 sts; rep from * twice more, sc to end. (54 sts, including 3 ch-2 buttonhole spaces)
Row 3: Ch 1, turn. Sc in each st across, working 2 sc into each ch-2 space from the row below. (54 sts)
Fasten off, weave in ends.
Assembly Steps
- Lay the Front Panel right side up on a flat surface.
- Place Back Piece A right side down on top of the Front Panel, aligning the bottom edges. Piece A’s top edge should sit roughly in the middle of the pillow.
- Place Back Piece B right side down on top, aligning the top edges of the Front Panel and Back Piece B. Back Piece B should overlap Back Piece A by approximately 10cm (4in) in the center — this overlap forms the envelope opening.
- Using a yarn needle and the tails left for seaming, whip stitch around all four edges through all layers, joining Front Panel to both Back Pieces.
- Turn the finished cover right side out through the envelope opening.
- If using buttons, sew 3 buttons onto Back Piece A, spaced evenly (roughly 12cm apart), positioned to line up with the buttonholes on Back Piece B’s button band.
- Insert your 18-inch pillow form through the envelope opening and adjust until it fills the cover evenly.
Beginner/Intermediate Tips
- Keep your ch-1 spaces consistent in size throughout the moss stitch rows — this is what gives the fabric its even, nubby texture. If your spaces vary, your fabric will look uneven.
- Use a stitch marker in the first stitch of every 10th row to help you count rows accurately without recounting from the beginning each time.
- Block your finished panels lightly with steam before assembly — this squares up the edges and makes seaming much easier.
- If your yarn splits easily, try holding the working yarn slightly looser as you pull it through stitches; this reduces strain on the plies.
Variations
- Two-Tone Version: Work the front panel in terracotta and both back panels in a contrasting cream or oatmeal color for a modern colorblock look.
- Mini Lumbar Pillow: Reduce the starting chain to ch 35 and work fewer rows for a rectangular lumbar-style pillow, perfect for a reading nook.
- Tasseled Corners: Add a chunky yarn tassel to each corner of the finished pillow for a boho, textured finish.
- Striped Moss Stitch: Alternate two colors every 4 rows in the front panel to create soft horizontal stripes within the moss stitch texture.
Save This Pattern
This terracotta moss stitch pillow cover is the perfect weekend project to add handmade warmth to any room. Save this pin so you can come back to it anytime you’re ready to crochet your own! #FoodieRippleCrochet



