
The Best Fluffy Pancakes recipe you will fall in love with. Full of tips and tricks to help you make the best pancakes.

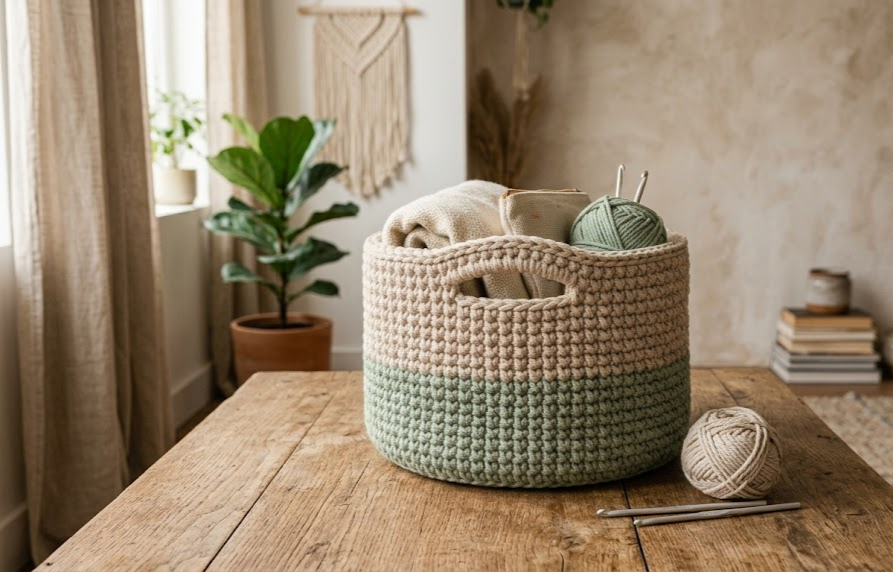
If you’ve been searching for a storage basket that’s as beautiful as it is practical, this two-tone crochet storage basket is exactly what your home needs. Featuring a soft sage green base wrapped in a warm oatmeal beige rim, complete with two convenient cutout handles, this basket brings a natural, boho touch to any room while keeping your blankets, towels, toys, or knitting supplies neatly organized.
Made with thick, sturdy cotton rope yarn, this basket holds its shape beautifully without needing a fabric liner or stiffener. The dense basket-weave stitch pattern creates a wall structure firm enough to stand upright even when empty, and the built-in handles make it easy to carry from room to room. Whether you’re placing it beside your sofa for throw blankets, in the bathroom for rolled towels, or in a nursery for soft toys, this basket is a functional piece of home décor that will get used every single day.
This pattern is rated intermediate, mainly because of the color-blocking technique and the cutout handle shaping, but if you’re comfortable working in continuous rounds and can single crochet confidently, you’ll be able to follow along without trouble. The finished basket measures approximately 25cm in diameter and 20cm tall, making it perfect for medium-sized storage needs.
|
Difficulty
Intermediate
|
Time
5–6 Hours
|
Hook Size
6mm (J/10)
|
Yarn Weight
Super Bulky Cotton
|
Finished Size
25cm x 20cm
|
Gauge
10 sts x 10 rows = 10cm x 10cm square, worked in single crochet in continuous rounds, using a 6mm hook and super bulky cotton rope yarn.
Gauge is not critical for this project since it’s worked in the round and doesn’t need to match a specific measurement exactly, but checking your gauge will help you predict your final basket size. If your swatch comes out smaller than 10cm, size up your hook. If it comes out larger, size down.
Materials List
- Super bulky cotton rope yarn (or worsted weight cotton held triple) in Oatmeal Beige — approximately 180g
- Super bulky cotton rope yarn in Sage Green — approximately 120g
- 6mm (US J/10) crochet hook
- Stitch marker
- Yarn needle for weaving in ends
- Scissors
Abbreviations Table
| Abbreviation | Meaning |
|---|---|
| ch | chain |
| sc | single crochet |
| st(s) | stitch(es) |
| sl st | slip stitch |
| inc | increase (2 sc in same stitch) |
| rnd(s) | round(s) |
| MR | magic ring |
| BLO | back loop only |
| FLO | front loop only |
Pattern Instructions
Part 1: Base (Oatmeal Beige)
The base is worked in a continuous spiral with no joining or turning. Use a stitch marker to track the start of each round.
Magic Ring (MR): Wrap yarn around your fingers to form a loop, insert hook and pull up a loop, then work your first round of stitches into the ring before pulling the tail to close it snugly.
- Rnd 1: 6 sc into MR (6)
- Rnd 2: Inc in each st around (12)
- Rnd 3: sc 1, inc repeat around (18)
- Rnd 4: sc 2, inc repeat around (24)
- Rnd 5: sc 3, inc repeat around (30)
- Rnd 6: sc 4, inc repeat around (36)
- Rnd 7: sc 5, inc repeat around (42)
- Rnd 8: sc 6, inc repeat around (48)
- Rnd 9: sc 7, inc repeat around (54)
- Rnd 10: sc 8, inc repeat around (60)
Your base should measure approximately 22–23cm in diameter and lie completely flat. If it starts to cup or ruffle, you’re increasing too much for your gauge — skip an increase or two evenly around to flatten it back out.
Part 2: Body — Beige Section
- Rnd 11: Work in BLO around to create a defined turning ridge between base and walls (60). BLO note: insert your hook only under the back loop of each stitch instead of both loops — this creates a visible ridge line and helps the basket walls stand upright.
- Rnds 12–16: sc in each st around, working through both loops as normal (60 sts each round, 5 rounds total)
Part 3: Body — Color Change to Sage Green
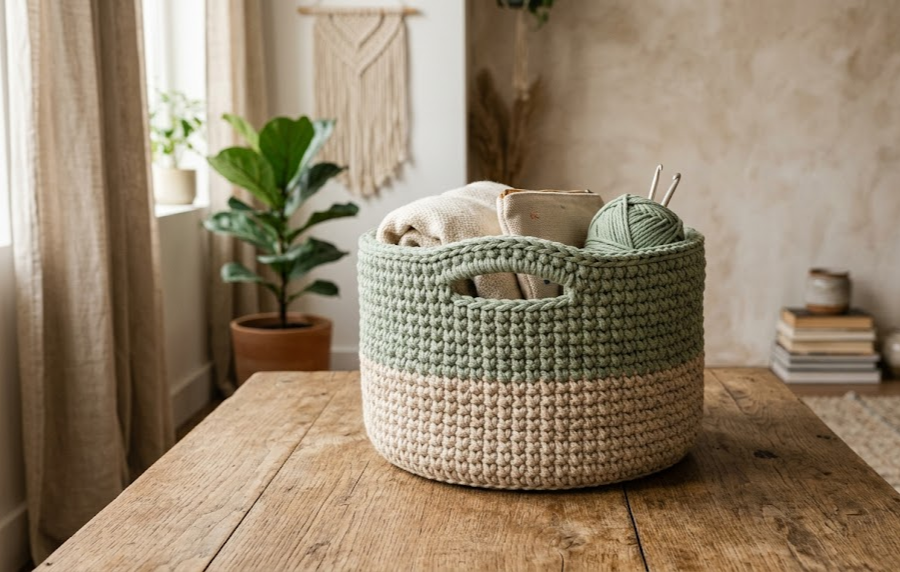
- Rnd 17: Switch to Sage Green. Color change note: on the last stitch of the beige round, yarn over with sage green instead of beige to finish the stitch, then continue in sage. sc in each st around (60)
- Rnds 18–23: sc in each st around in sage green (60 sts each round, 6 rounds total)
Part 4: Handle Cutouts
Handles are worked on Rnd 24, positioned directly opposite each other.
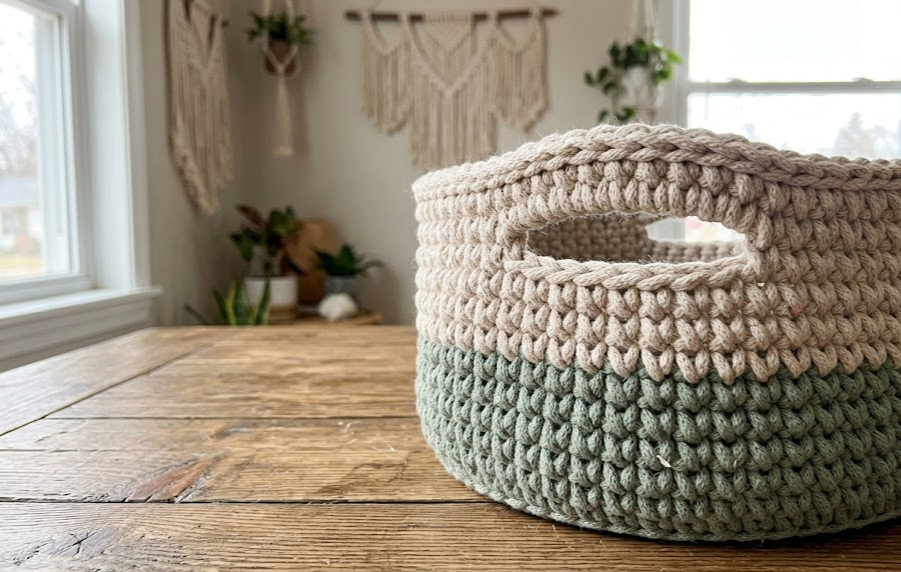
- Rnd 24: sc 5, ch 8, skip next 8 sts, sc 22, ch 8, skip next 8 sts, sc 17 (60 sts total: 44 sc + 2 ch-8 spaces counted as 16 sts)
- Rnd 25: sc in each st around, working sc into each of the 8 chain sts of both handle openings as you pass over them (60)
- Rnds 26–27: sc in each st around (60 sts each round)
Part 5: Finishing the Rim
- Rnd 28: Switch to Oatmeal Beige. sc in each st around (60)
- Rnd 29: sl st in each st around to create a neat, non-curling finished edge, then fasten off (60)
Weave in all yarn ends securely using your yarn needle, running each tail through several stitches on the wrong side.
Assembly Steps
- Lay your finished base flat and confirm it measures approximately 22–23cm across before beginning the wall rounds — this ensures your basket will stand upright.
- Work all body rounds without joining, keeping stitches snug and even so the wall has enough structure to hold its shape without a liner.
- Position the two handle cutouts directly across from each other (30 stitches apart) so the basket balances evenly when carried.
- After completing the ch-8 handle openings, make sure to crochet into each of the 8 chain stitches on the following round — skipping this step leaves a floppy, unfinished handle edge.
- Once finished, steam-block the basket lightly by hovering a steam iron 5cm above the surface (do not touch the yarn directly) to help the stitches relax into an even, rounded shape.
- Let the basket cool and dry fully in its intended shape (you can stuff it with a towel to help it hold form while drying) before use.
Beginner/Intermediate Tips
- Keep tension consistent throughout — this basket relies on tight, even stitches for structure, so avoid crocheting loosely even though the yarn is thick.
- If your basket walls feel floppy, try sizing down half a hook size for denser, firmer fabric.
- When changing colors, always make the color switch on the last yarn-over of the final stitch so the new color starts cleanly on the next stitch.
- Count your stitches at the end of every round for the first few basket projects you make — it’s the easiest way to catch a missed decrease or extra stitch before it throws off your handle placement.
- Cotton rope yarn can be slippery; a hook with a slight grip texture (rather than a fully smooth metal hook) can help you maintain tension more easily.
Variations
- Ombre Basket: Use three shades of the same color family, transitioning gradually from dark to light as you work up the walls.
- Mini Version: Start with only 4 rounds of increases on the base for a smaller catch-all basket perfect for keys or remotes.
- Single Handle Tote Style: Skip the second handle and extend the remaining one into a longer strap for a bag-style carry basket.
- Striped Body: Alternate 2-round stripes of both colors throughout the entire body instead of one solid color block per section.
- No-Handle Planter Cover: Omit the handle cutouts entirely and use the basket as a decorative cover for plant pots.
Loved this basket pattern? Save this pin so you can find it again next time you’re ready to crochet! Tag your finished projects and share your version with the community. #FoodieRippleCrochet



