
The Best Fluffy Pancakes recipe you will fall in love with. Full of tips and tricks to help you make the best pancakes.

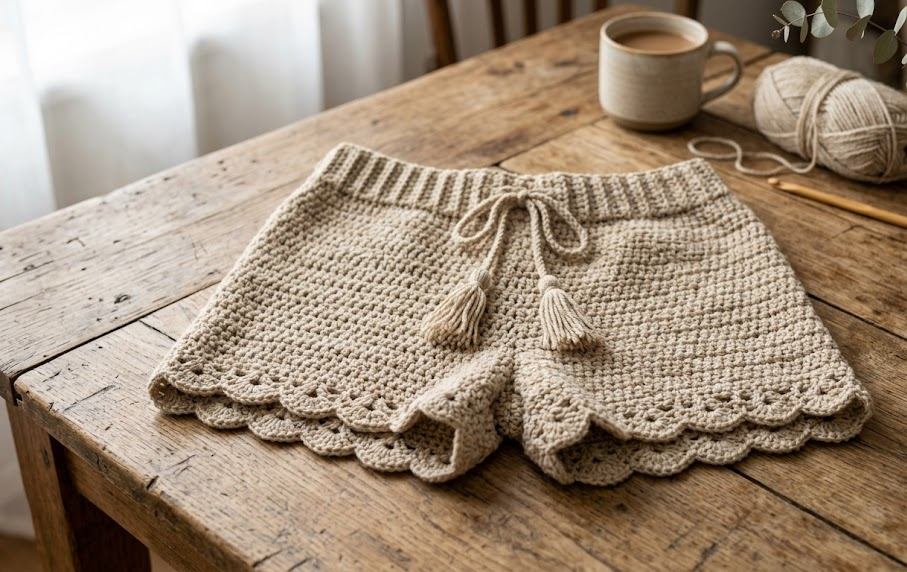
If you’ve been searching for a project that combines comfort, style, and just the right amount of crochet challenge, these crochet drawstring shorts are exactly what your summer wardrobe needs. With a ribbed waistband that hugs comfortably, a scalloped hem that adds a delicate boho touch, and a soft drawstring tie for the perfect fit, this pattern strikes the balance between beachy and put-together. Pair them with a crop top for a festival look or wear them straight from the beach to brunch.
This pattern is written for intermediate crocheters — if you’re comfortable working in the round, increasing evenly, and following basic shaping instructions, you’ll have no trouble here. The construction is broken into simple, clearly labeled parts, so even if you’ve never made a wearable garment before, you can follow along step-by-step and end up with a pair of shorts that actually fits.
Made in a warm oatmeal tan, these shorts are versatile enough to pair with almost anything in your closet. Cotton or cotton-blend yarn keeps them breathable and durable — ideal for the kind of piece you’ll want to wear on repeat all summer.
|
Difficulty
Intermediate
|
Time
7–9 hours
|
Hook Size
4.5mm (H/8)
|
Yarn Weight
DK Weight
|
Finished Size
S/M, 12″ inseam
|
Gauge
16 sc x 18 rows = 10cm x 10cm (4in x 4in), using a 4.5mm (H/8) hook and DK weight cotton-blend yarn.
Always crochet a gauge swatch before starting. Because this is a wearable garment, gauge directly affects fit — if your swatch comes out smaller than stated, size up your hook; if larger, size down.
Materials List
- DK weight cotton-blend yarn, oatmeal/tan colorway — approximately 400–500g depending on size
- 4.5mm (H/8) crochet hook
- Stitch markers (at least 4)
- Tapestry needle for weaving in ends
- Scissors
- Measuring tape
- Optional: small safety pin or bodkin for threading drawstring
Abbreviations
| Abbreviation | Meaning |
|---|---|
| ch | chain |
| sc | single crochet |
| hdc | half double crochet |
| dc | double crochet |
| sl st | slip stitch |
| st(s) | stitch(es) |
| rep | repeat |
| BLO | back loop only |
| sk | skip |
| rnd | round |
| sp | space |
Pattern Instructions
Part 1: Waistband Ribbing
The waistband is worked as a flat strip first, then joined into a ring, so the ribbing runs vertically around the waist for maximum stretch.
Ch 13.
Row 1: Starting in 2nd ch from hook, sc in each ch across (12 sc). Ch 1, turn.
Row 2–70: Working in BLO (back loop only — insert your hook under only the back loop of each stitch, which creates the ribbed texture), sc in each st across (12 sc). Ch 1, turn.
Technique note: BLO simply means you skip the front loop of each stitch and only pick up the strand furthest from you. This is what gives ribbing its stretchy, textured look.
Continue until the strip measures approximately 26–30″ (fits comfortably around your waist with slight negative ease for stretch — try it on as you go). Do not fasten off.
Fold the strip so the short ends meet, and sl st through both layers to join into a ring. Fasten off and weave in this seam.
Part 2: Body — Joining and First Rounds
With right side facing, join yarn to the bottom edge of the waistband ring.
Rnd 1: Ch 1, sc evenly around the bottom edge of the waistband, placing 1 sc into the end of every ribbing row (approximately 90–100 sc — place a stitch marker in the first stitch and move it up each round). Join with sl st to first sc. (90–100 sc)
Rnd 2–4: Ch 1, sc in each st around. Join with sl st to first sc. (90–100 sc)
Part 3: Increase for Hip and Thigh Room
Rnd 5: *Sc in 8 sts, 2 sc in next st (increase); rep from * around. Join. (Add roughly 10–12 sts total)
Rnd 6–7: Sc in each st around, no increases. Join.
Rnd 8: Repeat increase round as in Rnd 5. Join.
Continue working even rounds until the body piece measures 5–6″ from the waistband — enough to comfortably reach the widest part of your hips before separating for legs.
Part 4: Dividing for Legs
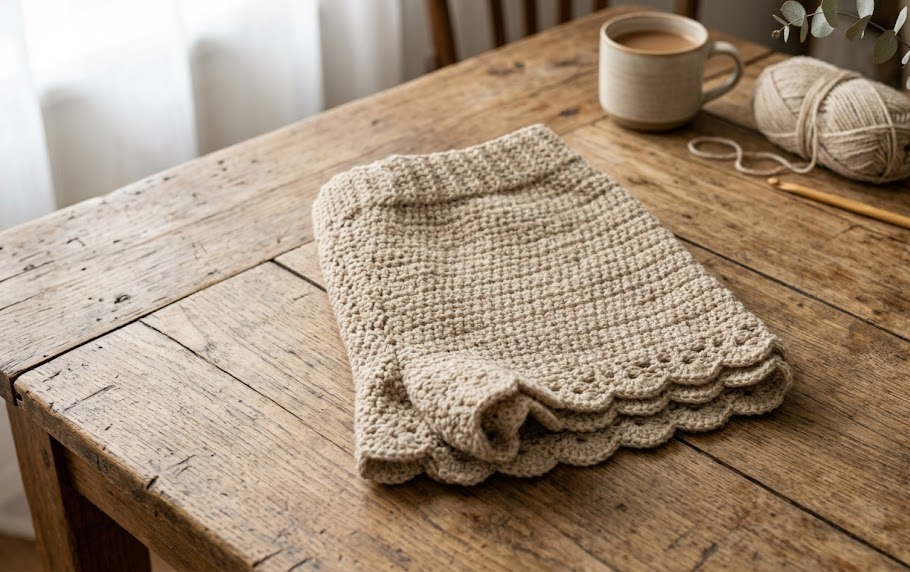
Rnd (divide): Place a stitch marker at the center front and center back to mark the two leg openings. Sc across half the stitches (this becomes leg 1), then ch 2 and skip the next 2–3 sts at the crotch point (this creates ease for movement), sc across the remaining half (leg 2), ch 2 and skip 2–3 sts at the other crotch point, join to first sc of the round. Note your new stitch count — it should be roughly the same as before division since the skipped stitches are replaced by chains.
Technique note: skipping stitches and chaining across the crotch adds a small gusset of ease so the shorts don’t ride up when you move.
Part 5: Leg Panels
Working only on the stitches of one leg (place a marker to keep track), join yarn and work in rounds:
Rnd 1: Sc in each st around, including 1 sc in each of the 2 ch-sts from the divide round. Join.
Rnd 2–6: Sc in each st around, decreasing 1–2 sts evenly every other round for a fitted thigh line. Join.
Work until leg measures approximately 3–4″ long from the divide, or your desired inseam minus the hem trim. Fasten off, leaving a 12″ tail for seaming later if needed.
Repeat for the second leg.
Part 6: Scalloped Hem Edging
Worked around the bottom edge of each leg:
Rnd 1: Join yarn at the leg seam. Ch 1, sc evenly around. Join. (Adjust stitch count to a multiple of 6 for the scallop pattern.)
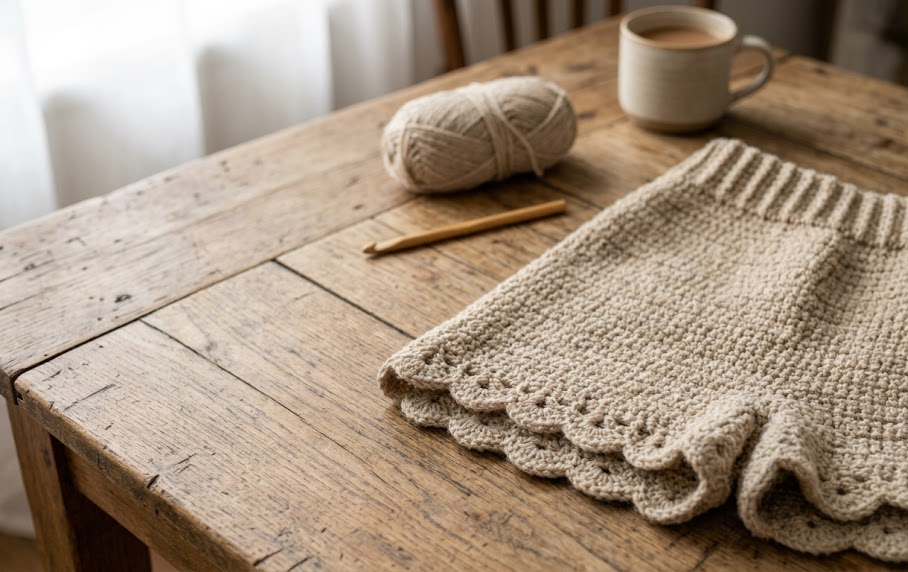
Rnd 2 (scallop rnd): Ch 1, *sk 1 st, 5 dc in next st, sk 1 st, sl st in next st; rep from * around. Join with sl st. Fasten off.
Technique note: this shell-and-slip-stitch combination creates the fan-shaped scallop. Keeping tension even on the 5-dc groups keeps the scallops uniform.
Repeat on the second leg.
Assembly Steps
- With the body and both legs complete, check that the crotch gusset lies flat — if there’s any gapping, use the tapestry needle and a short length of yarn to close any small gaps with a few whip stitches.
- Weave in all loose ends using the tapestry needle, running each tail through several stitches to secure.
- Cut two lengths of yarn, each approximately 45″ long, for the drawstring. Braid or twist each length for a sturdier cord, and knot both ends of each to prevent unraveling — or crochet a simple ch cord by chaining 45″ and fastening off.
- Using a safety pin or bodkin, thread the drawstring through the front of the waistband ribbing (weave it in and out between ribs at the front) so both ends exit at the center front, ready to tie.
- Try the shorts on and adjust the drawstring tension; tie a bow or knot at center front.
- Block the finished shorts lightly by lying them flat, misting with water, and gently shaping the scalloped hem and waistband so the stitches sit evenly. Let air dry fully before wearing.
Beginner/Intermediate Tips
- Try the waistband strip around your head or wrist as you work — it should stretch to about 90% of your actual waist measurement since ribbing has natural give.
- Use a stitch marker at the start of every round without exception; it’s easy to lose track when working in continuous rounds, especially through the increase and divide sections.
- If your gauge swatch is tight, your finished shorts will run small — cotton yarn has less give than wool, so err on the side of a slightly looser gauge for garments.
- When working the scalloped hem, count your stitches before starting Rnd 2 to confirm you have a multiple of 6; add or skip 1–2 sc in Rnd 1 if needed to make the math work.
- Try the piece on frequently during the leg panels — it’s much easier to adjust decreases mid-project than to rip back later.
Variations
- Two-tone shorts: Work the waistband in a contrasting color for a color-blocked look.
- Mini or maxi length: Shorten the leg panels for a mini-short silhouette, or lengthen them into cropped pants by skipping the scalloped hem and adding a simple ribbed cuff instead.
- Chunky yarn version: Swap to a worsted or chunky weight yarn and larger hook for a cozier, faster-working lounge pair.
- Beaded drawstring: Thread wooden or ceramic beads onto the drawstring cord before knotting the ends for a boho-market finish.
- High-waist customization: Add extra rows to the waistband ribbing before joining for a higher-rise fit.
Save this pattern for your next summer crochet project — happy hooking! #FoodieRippleCrochet



