The Best Fluffy Pancakes recipe you will fall in love with. Full of tips and tricks to help you make the best pancakes.
There is something deeply comforting about the smell of freshly baked bread drifting through your kitchen. For many people following a gluten-free lifestyle, however, artisan-style bread often feels like an unattainable luxury. Too dense, too dry, too crumbly — disappointing results have become almost expected.
But not anymore.
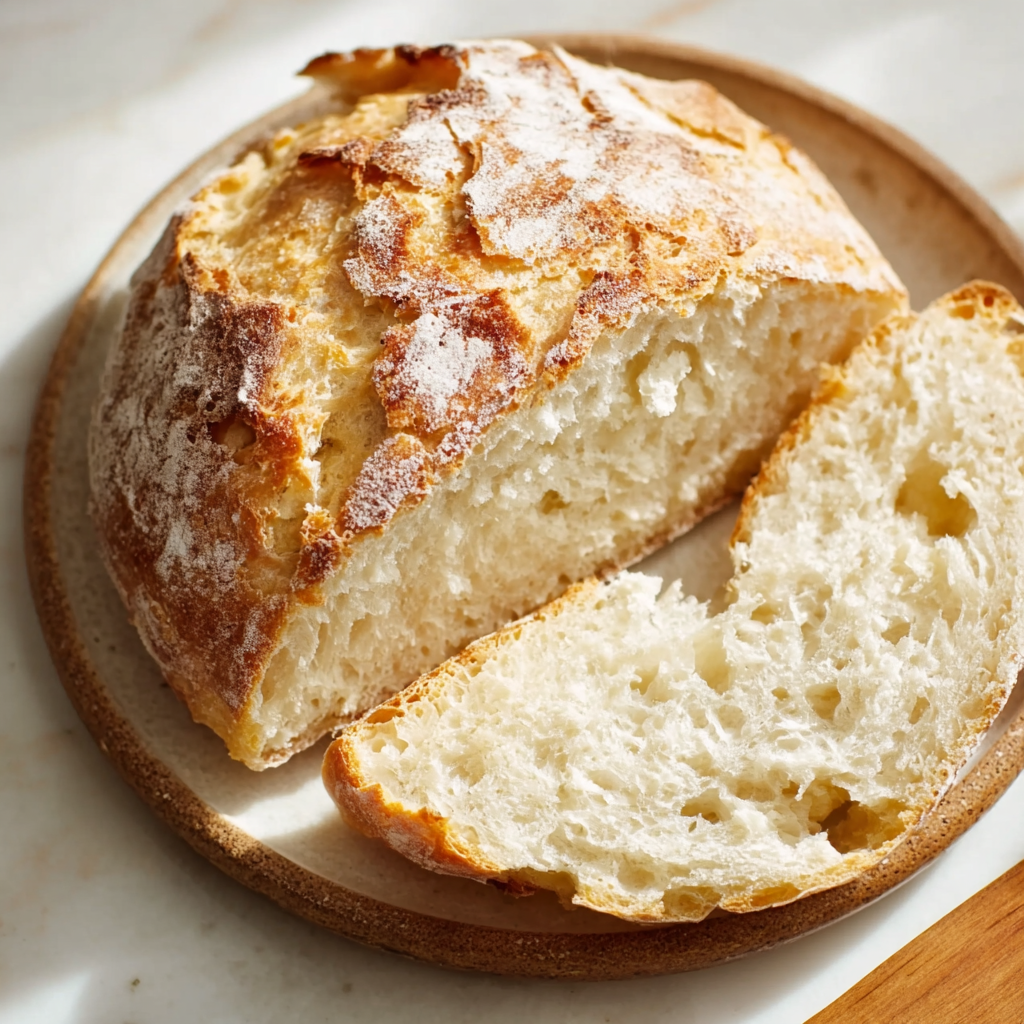
This Gluten-Free No-Knead Artisan Bread completely changes the game. It delivers everything you want from homemade bread: a beautifully golden crust, a soft and squishy interior, and that irresistible bakery-style texture — all without kneading, complicated techniques, or specialty equipment.
Whether you are gluten-free by necessity or choice, this recipe will quickly become a staple in your kitchen.
Why This Gluten-Free Bread Recipe Actually Works
Gluten-free baking has a reputation for being tricky, and honestly, that reputation is deserved. Gluten plays a structural role in traditional bread, providing elasticity, chewiness, and stability. Remove gluten, and you remove the framework that gives bread its classic texture.
This recipe compensates for that missing structure using a few key strategies:
1. Hydration is everything
Gluten-free doughs require significantly more moisture than wheat-based doughs. A high-hydration batter-like dough produces a softer crumb instead of a dry, heavy loaf.
2. No-knead technique
Unlike traditional dough, gluten-free bread does not benefit from kneading. There is no gluten network to develop, so skipping kneading actually improves results.
3. Controlled rise
Allowing the dough enough time to rise ensures better aeration and a lighter texture.
4. Proper flour blend
Using a well-balanced gluten-free flour blend makes a massive difference in both flavor and structure.
What Makes This Bread So Special
This is not just “good for gluten-free bread.” It is genuinely delicious bread.
✔ Soft, airy interior
✔ Slightly chewy texture
✔ Golden, lightly crisp crust
✔ No kneading required
✔ Beginner-friendly
✔ Minimal ingredients
It slices beautifully, toasts wonderfully, and works for everything from sandwiches to dipping in soup.
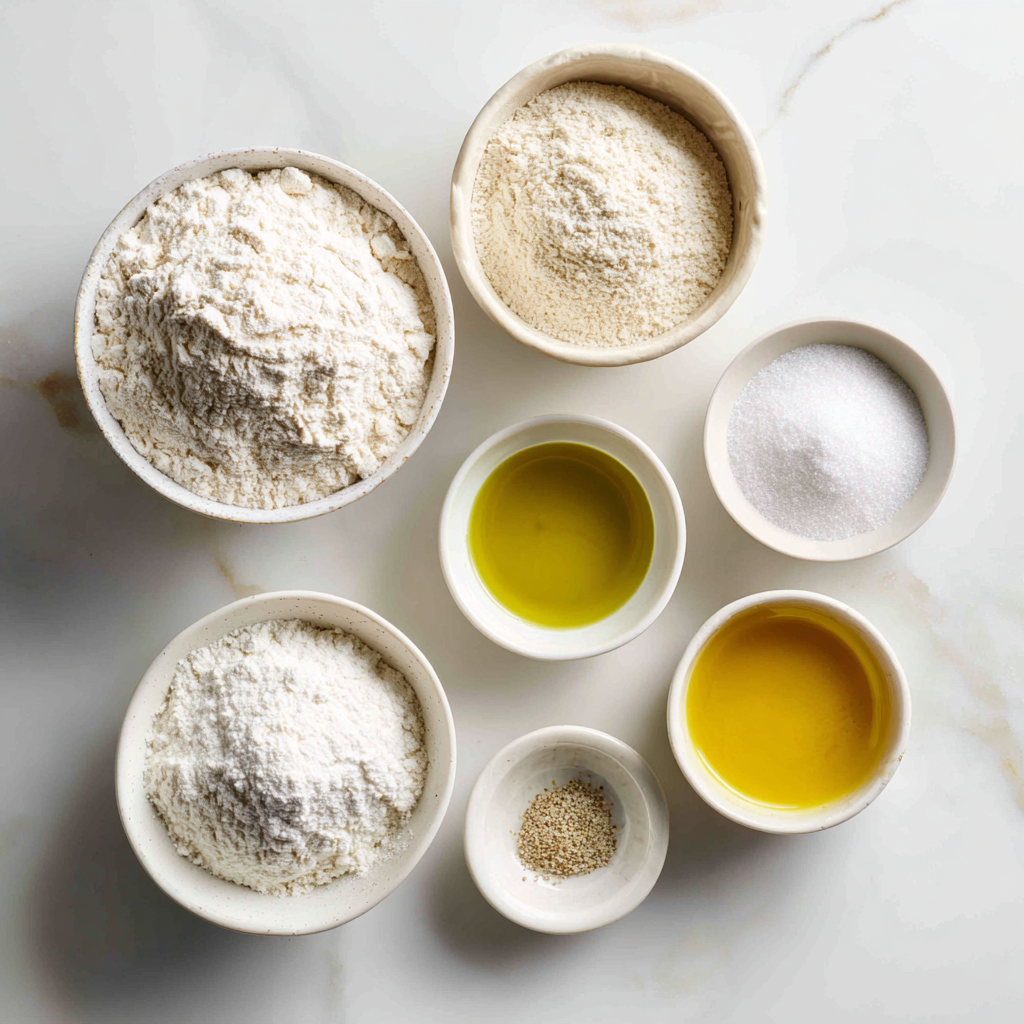
INGREDIENTS
- 3 cups gluten-free all-purpose flour blend (with xanthan gum)
- 1 teaspoon salt
- 2 teaspoons sugar or honey
- 2 ¼ teaspoons instant yeast (1 packet)
- 1 ½ cups warm water (not hot)
- 2 tablespoons olive oil
Choosing the Right Gluten-Free Flour Blend
Not all gluten-free flours behave the same way. For best results, use a store-bought gluten-free all-purpose blend that already contains xanthan gum.
Good blends typically include:
- Rice flour
- Potato starch
- Tapioca starch
- Sorghum flour (sometimes)
Avoid single-flour substitutions like only almond or coconut flour — they require entirely different hydration ratios.
INSTRUCTIONS
1. Mix the dry ingredients
In a large mixing bowl, whisk together the gluten-free flour, salt, sugar, and yeast. Ensure everything is evenly distributed.
2. Add wet ingredients
Pour in the warm water and olive oil. Stir using a wooden spoon or spatula until a thick, sticky dough forms. The texture should resemble a dense batter rather than traditional dough.
3. Rest and rise
Cover the bowl with plastic wrap or a clean kitchen towel. Let it rise in a warm area for 45–60 minutes, or until noticeably puffed.
4. Prepare baking vessel
Preheat oven to 220°C (425°F). Place a Dutch oven or heavy oven-safe pot with lid inside while heating.
5. Transfer dough
Carefully remove the hot pot. Line with parchment paper. Gently scrape the dough into the pot — no shaping required.
6. Bake covered
Cover and bake for 30 minutes. This traps steam, creating a better crust.
7. Bake uncovered
Remove lid and bake another 15–20 minutes until golden brown.
8. Cool completely
This step is critical. Allow bread to cool at least 1 hour before slicing to prevent gumminess.
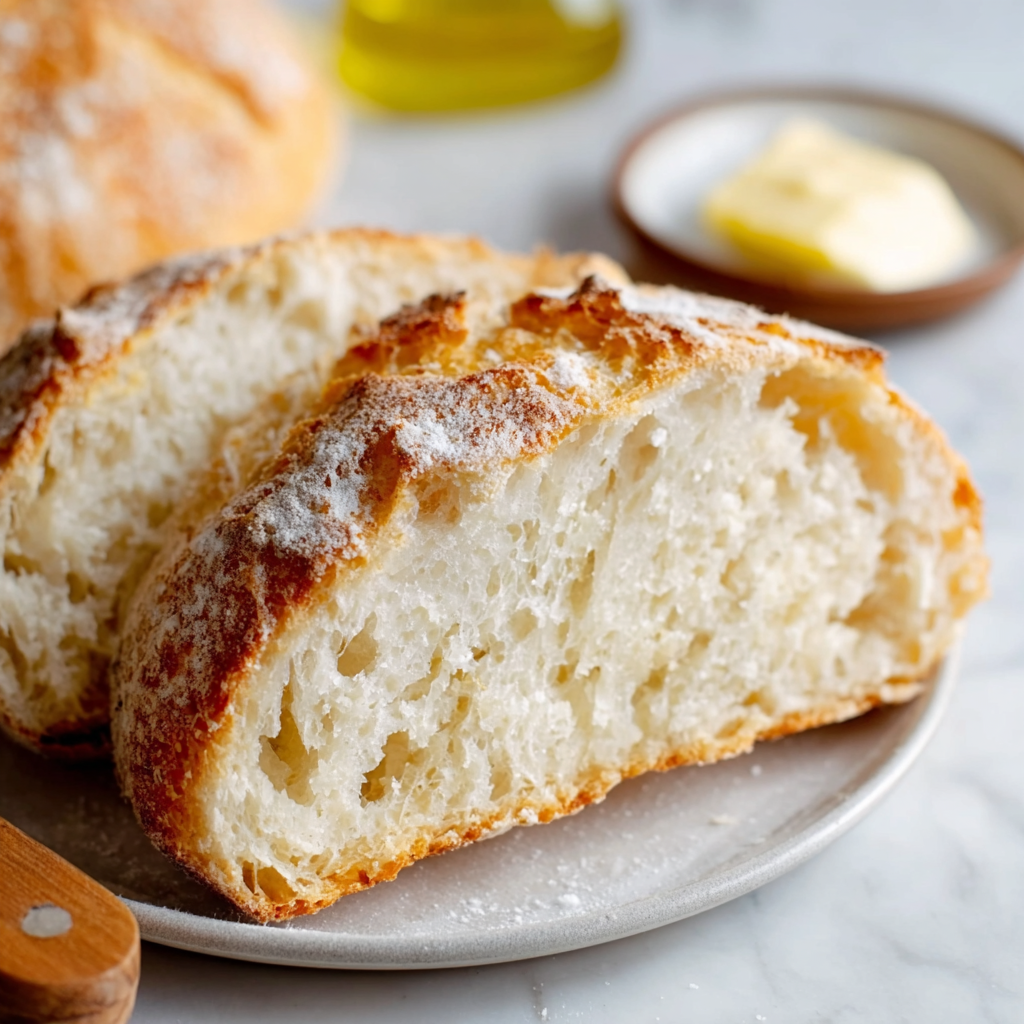
The Secret to a Soft, Squishy Crumb
Many gluten-free breads turn out dry or crumbly because they lack sufficient moisture retention. This recipe’s hydration level ensures:
- Better elasticity
- Less crumbling
- Improved shelf life
- Pleasant chewiness
Skipping kneading prevents overworking starches, which can create density.
Common Gluten-Free Bread Mistakes (And How to Avoid Them)
Mistake #1: Dough too dry
Gluten-free dough should look wetter than you expect.
Mistake #2: Cutting too early
Warm gluten-free bread can seem gummy. Cooling stabilizes texture.
Mistake #3: Wrong yeast temperature
Water should be warm, never hot (hot kills yeast).
Mistake #4: Improper rise time
Under-risen dough = dense loaf.
Expert Tips for Perfect Results
✔ Measure flour by weight if possible
✔ Use fresh yeast
✔ Preheat baking pot thoroughly
✔ Line pot with parchment
✔ Allow full cooling time
✔ Store properly (see below)
Delicious Variations
Herb Artisan Bread
Add dried rosemary, thyme, or oregano.
Seeded Bread
Mix in sunflower seeds, sesame seeds, or flaxseed.
Garlic Bread Version
Add garlic powder + brush with butter after baking.
Cheese Bread
Fold in shredded cheddar or parmesan.
Serving Suggestions
This bread is incredibly versatile:
✔ Sandwiches
✔ Toast with butter
✔ Avocado toast
✔ Soup dipping
✔ Bruschetta
✔ Breakfast toast
✔ Grilled cheese
Storage & Shelf Life
Gluten-free bread behaves differently from wheat bread.
Room temperature: 1–2 days (airtight container)
Refrigerator: Not recommended (dries out)
Freezer: Best option
Freeze slices individually for easy toasting.
Texture Expectations (Realistic & Honest)
This bread delivers:
✔ Soft interior
✔ Slight chew
✔ Flexible slices
✔ Light artisan crust
It will not mimic wheat bread perfectly — but it comes impressively close.
Why No-Knead Is Perfect for Gluten-Free Baking
Kneading develops gluten. Without gluten, kneading becomes unnecessary and sometimes harmful. No-knead simplifies the entire process while improving texture.
Nutritional Advantages
Depending on your flour blend, gluten-free bread may offer:
✔ Easier digestion for sensitive individuals
✔ Alternative grain diversity
✔ Customizable ingredients
Final Thoughts
If you have struggled with gluten-free bread before, this recipe is your redemption loaf. It is simple, forgiving, and consistently reliable.
Soft. Squishy. Golden. Truly amazing.
Gluten-Free No-Knead Artisan Bread
A soft, airy gluten-free artisan bread with a golden crust made using a simple no-knead technique.
Ingredients
Equipment
Method
- Preheat oven to 220°C (425°F). Place a Dutch oven inside to heat.
- Whisk together flour, salt, sugar, and yeast in a large bowl.
- Add warm water and olive oil. Stir until a thick sticky dough forms.
- Cover and let rise for 45–60 minutes until puffed.
- Transfer dough onto parchment paper and place into hot pot.
- Bake covered for 30 minutes.
- Remove lid and bake another 15–20 minutes until golden.
- Cool completely before slicing.
Notes
Dough should be wetter than traditional bread dough. Cooling is essential for proper texture.


